While some products are linked to in this article, no product links have been sponsored, this is purely informational for readers to locate the same products cited as used.
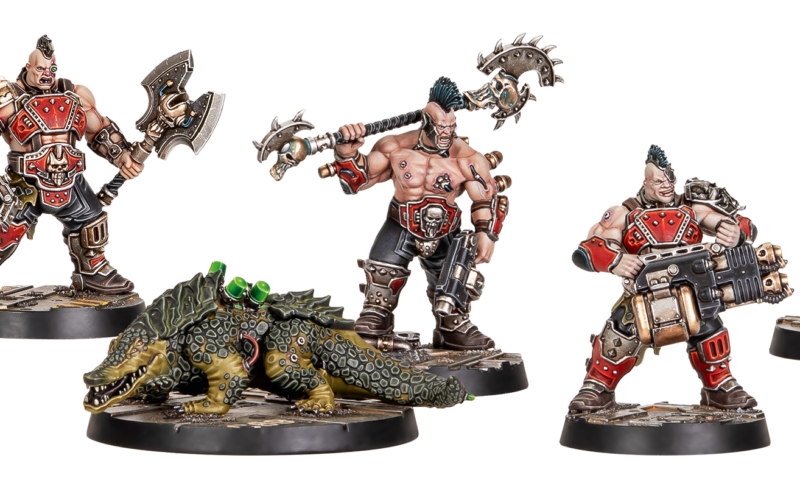
I actually joined a Necromunda campaign that’s running the Cinderak Burning campaign from the N23 rules and was kind of thrilled to do so because, going through the rules, I’ve found some of my miniatures won’t be playable as-is any longer in N26. Chief among these will be my Orlocks. So… one last go with Orlocks before a whole bunch of them wind up on the shelf collecting dust.
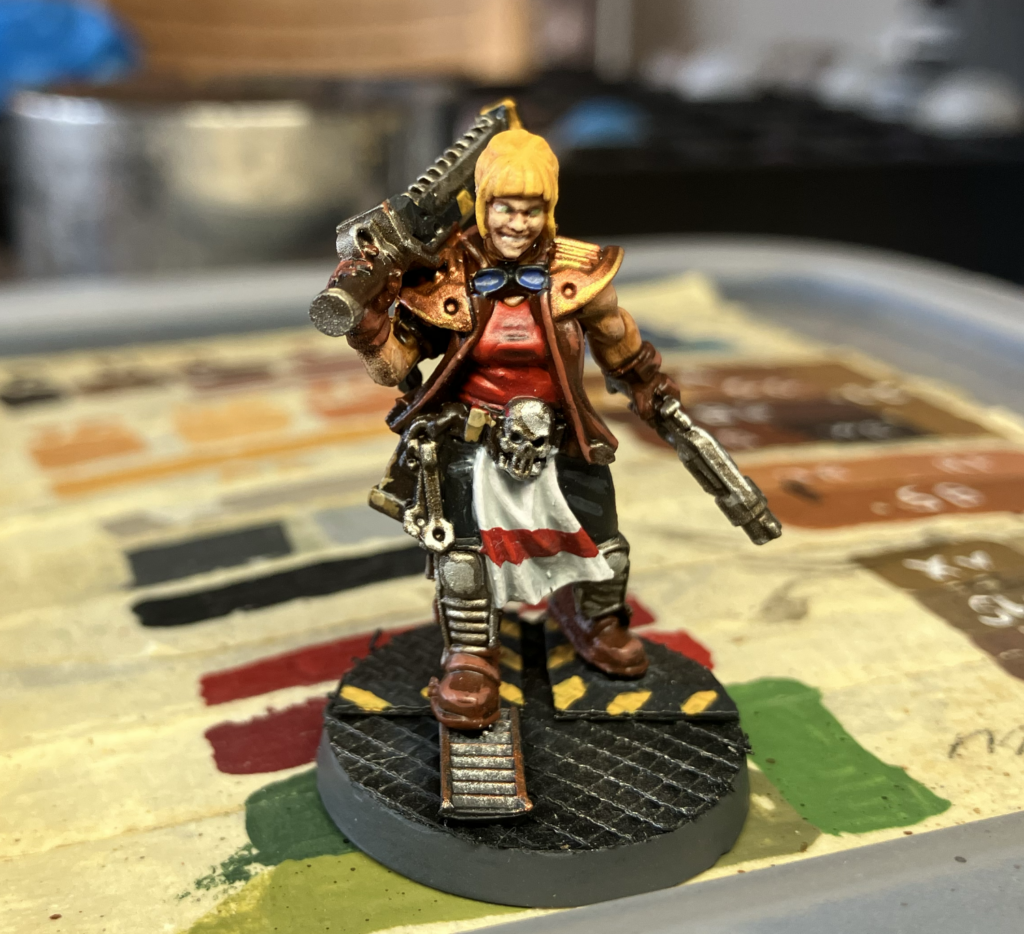
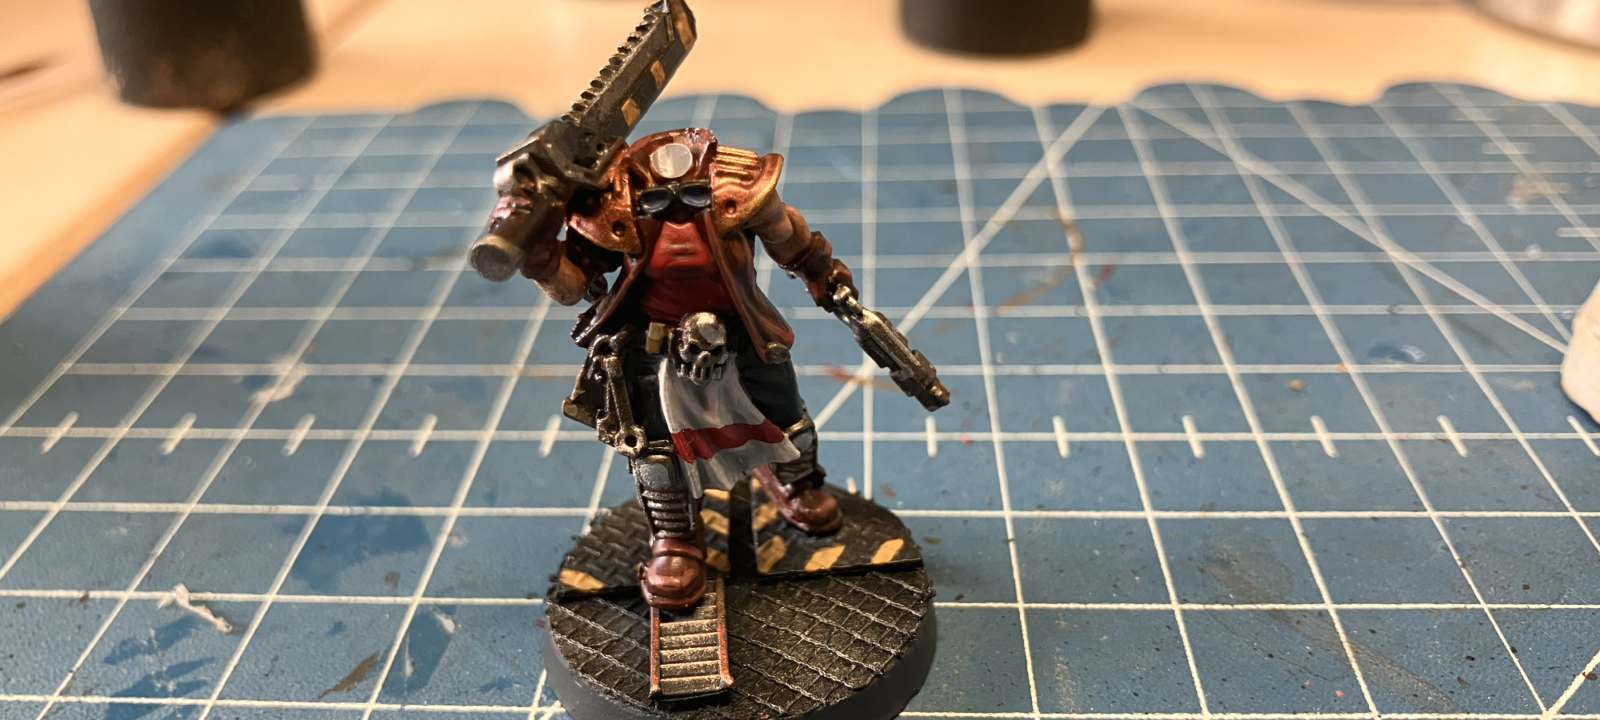
The participants in the campaign took part in a group battle that consisted of the three lowest cost fighters, stripped naked, running in the dark looking for loot chests to grab weapons out of. It was insanely fun and, of course, I had to field my favorite Orlock juve, pictured in the header image.
Unfortunately, I was also wearing an untucked shirt and the hem caught on her and pulled her off the table. Because she’s basically a jumble of glued-together resin (not even pinned), her head detached upon hitting the ground and… well… fucking disappeared.
So, unfortunately, now I had a headless juve to play most of the game with. For play purposes, it wasn’t a big deal but I wasn’t just going to keep her like that.
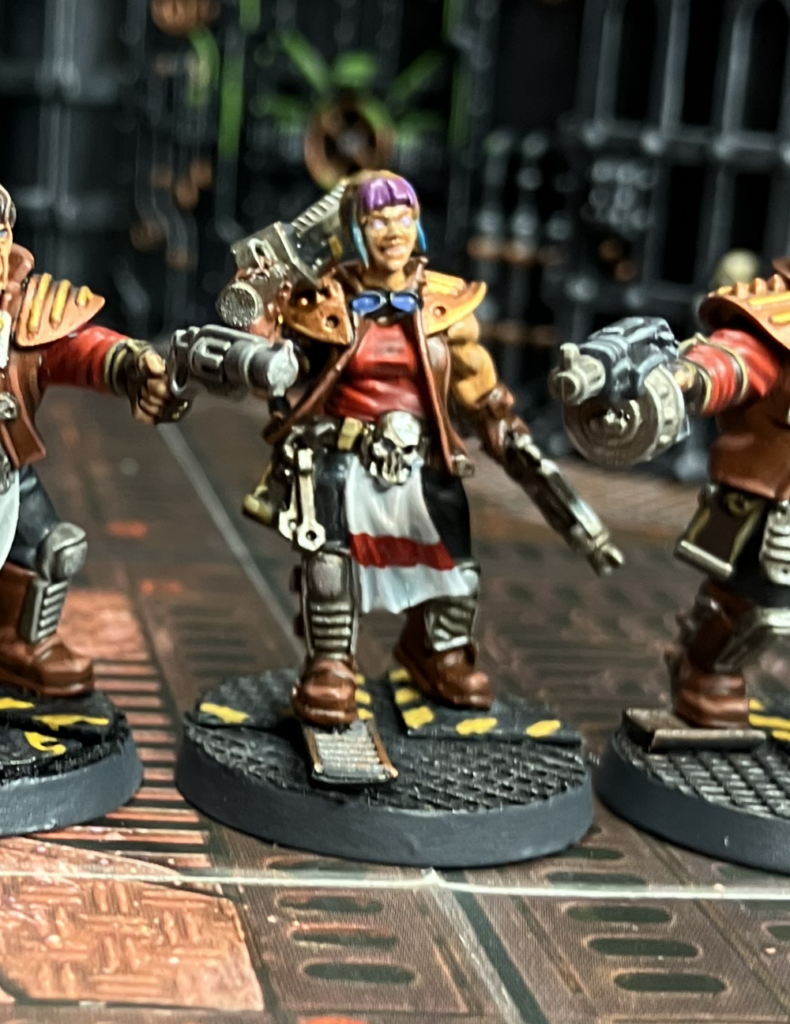
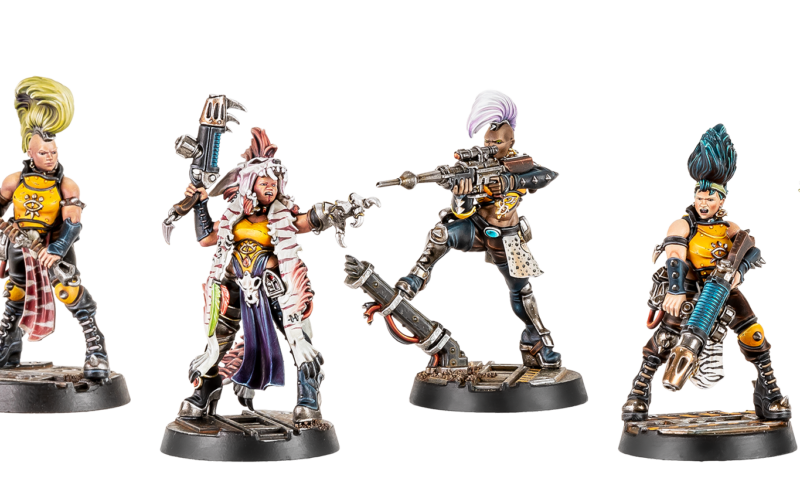
I’m not saying I did a brilliant job on her the first time around. It was one of the first head-swaps I’d ever done and doing it on a ForgeWorld resin miniature was a bit more of a challenge than I’d predicted because resin requires filling gaps with putty, adding to the sculpt. With plastic miniatures, like my Escher and the head-swaps I did on them, I found it was more often about shaving away bits that didn’t fit. But… hey, she had a head.
So, Mini-911 to the rescue.
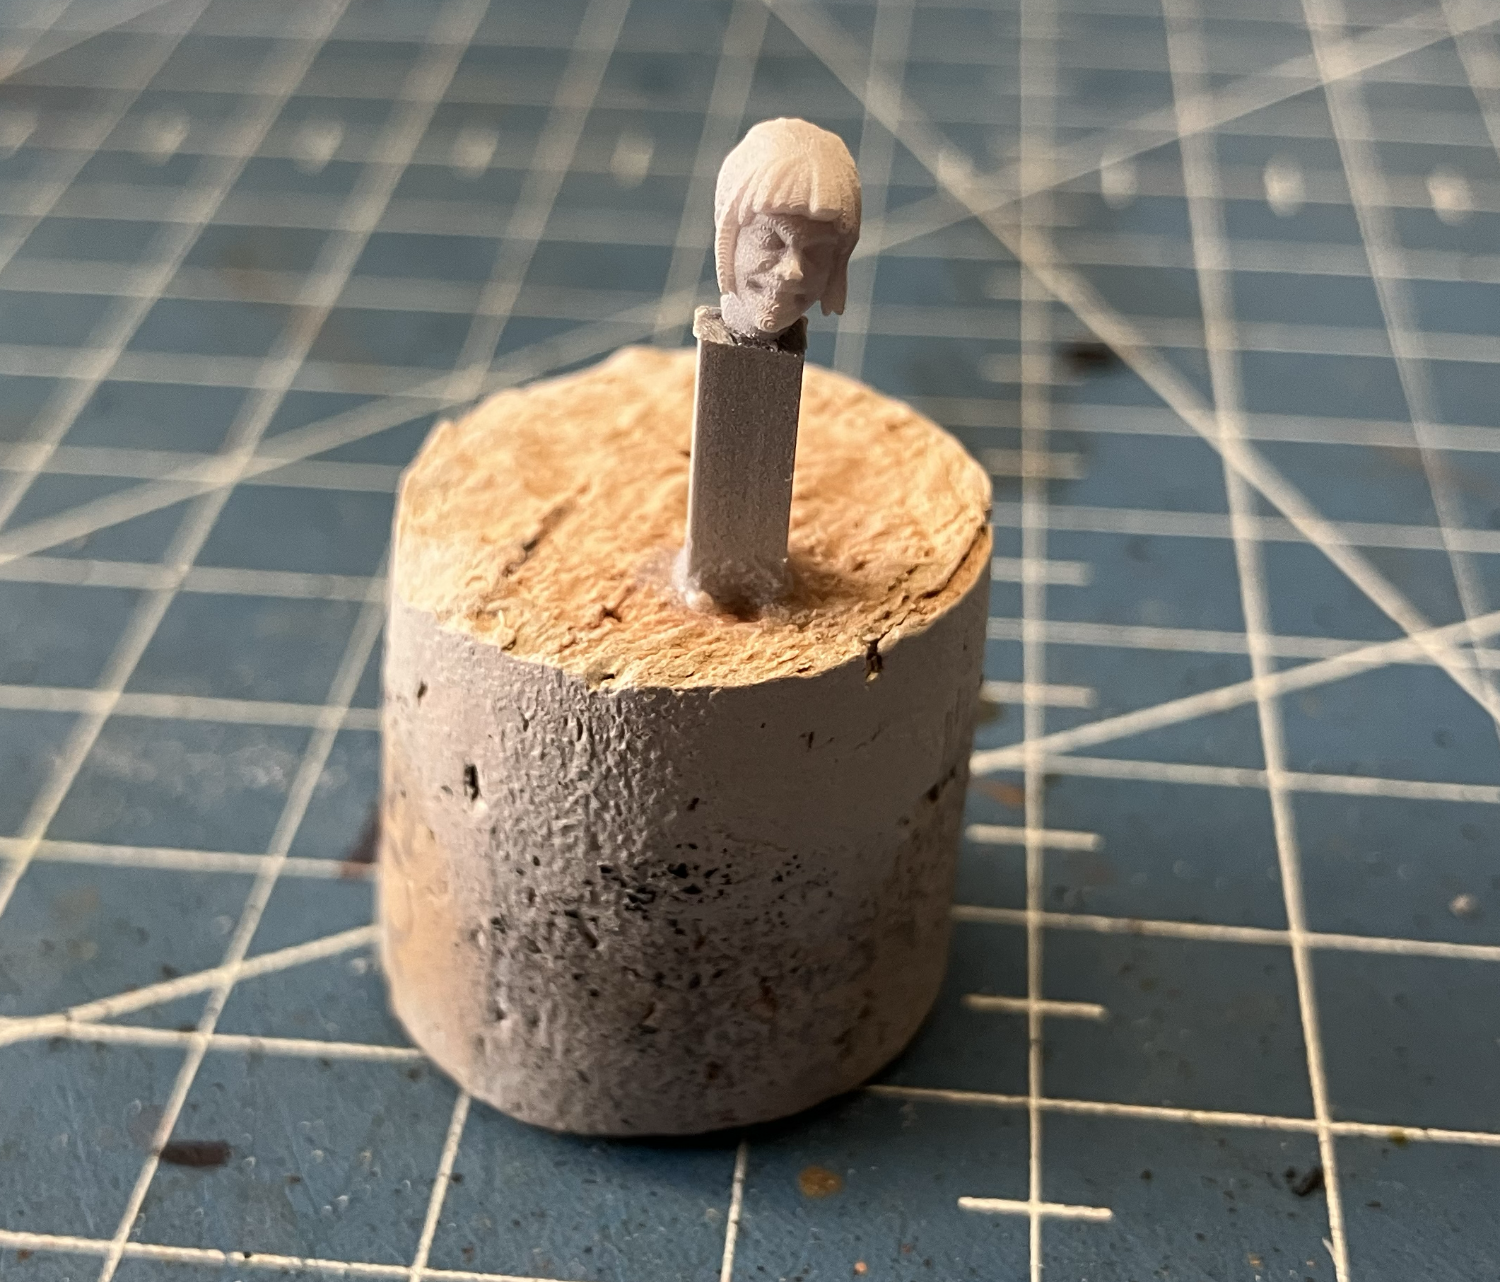
The number one fun thing to do was create a little head-painting rig. This was cheap as chips. I just took a small piece of sprue, filed both ends flat, drilled a small hole in one end, and glued in a short piece of wire. Then I drilled a small hole in one of my paint handle corks and glued the wire in on the other side. Once I’d trimmed and fitted my new head on the miniature, I attached the head with the tiniest spot of glue on the top of the sprue to just barely hold things in place.
And Bob’s your uncle, now I had an easy way to paint a head without screwing up the miniature itself.
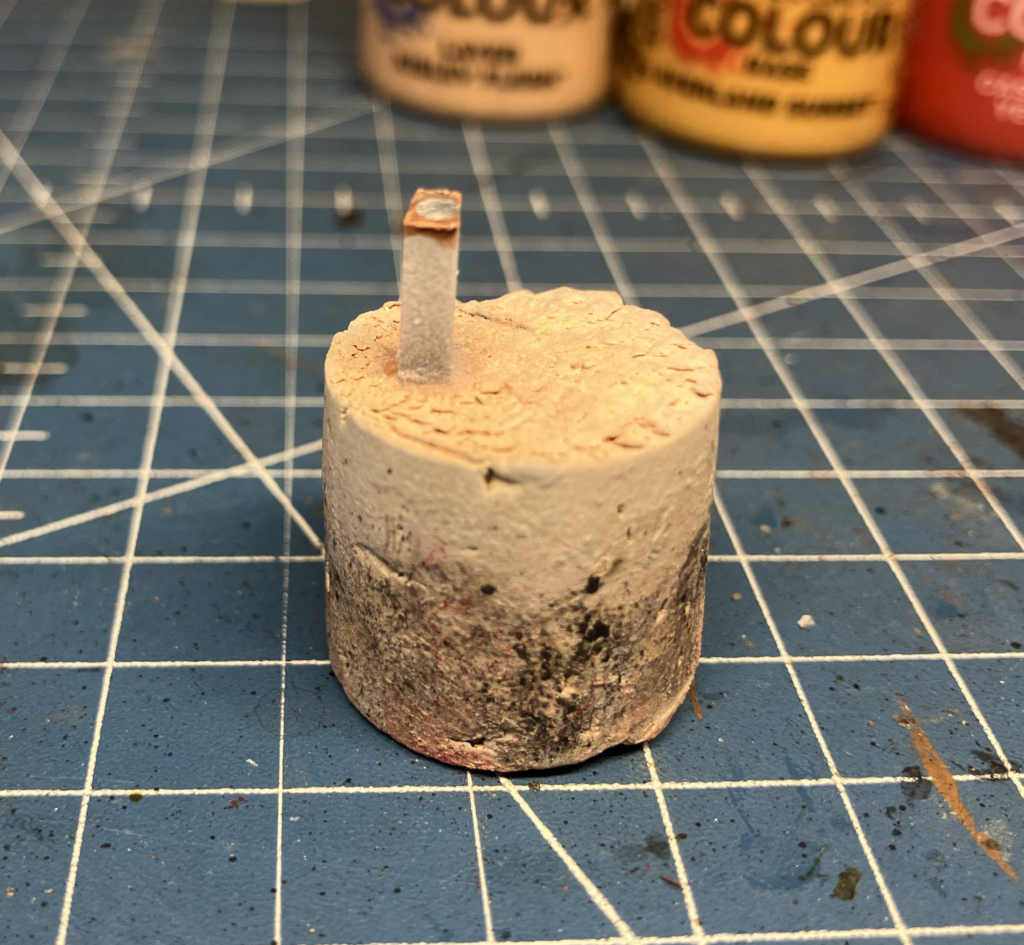
The nice thing about head painting, when it’s just a head and not a whole miniature, is that it takes almost no time. Especially if you paint the way I do. This is not an all day affair. Time in total, I think this took me about an hour.
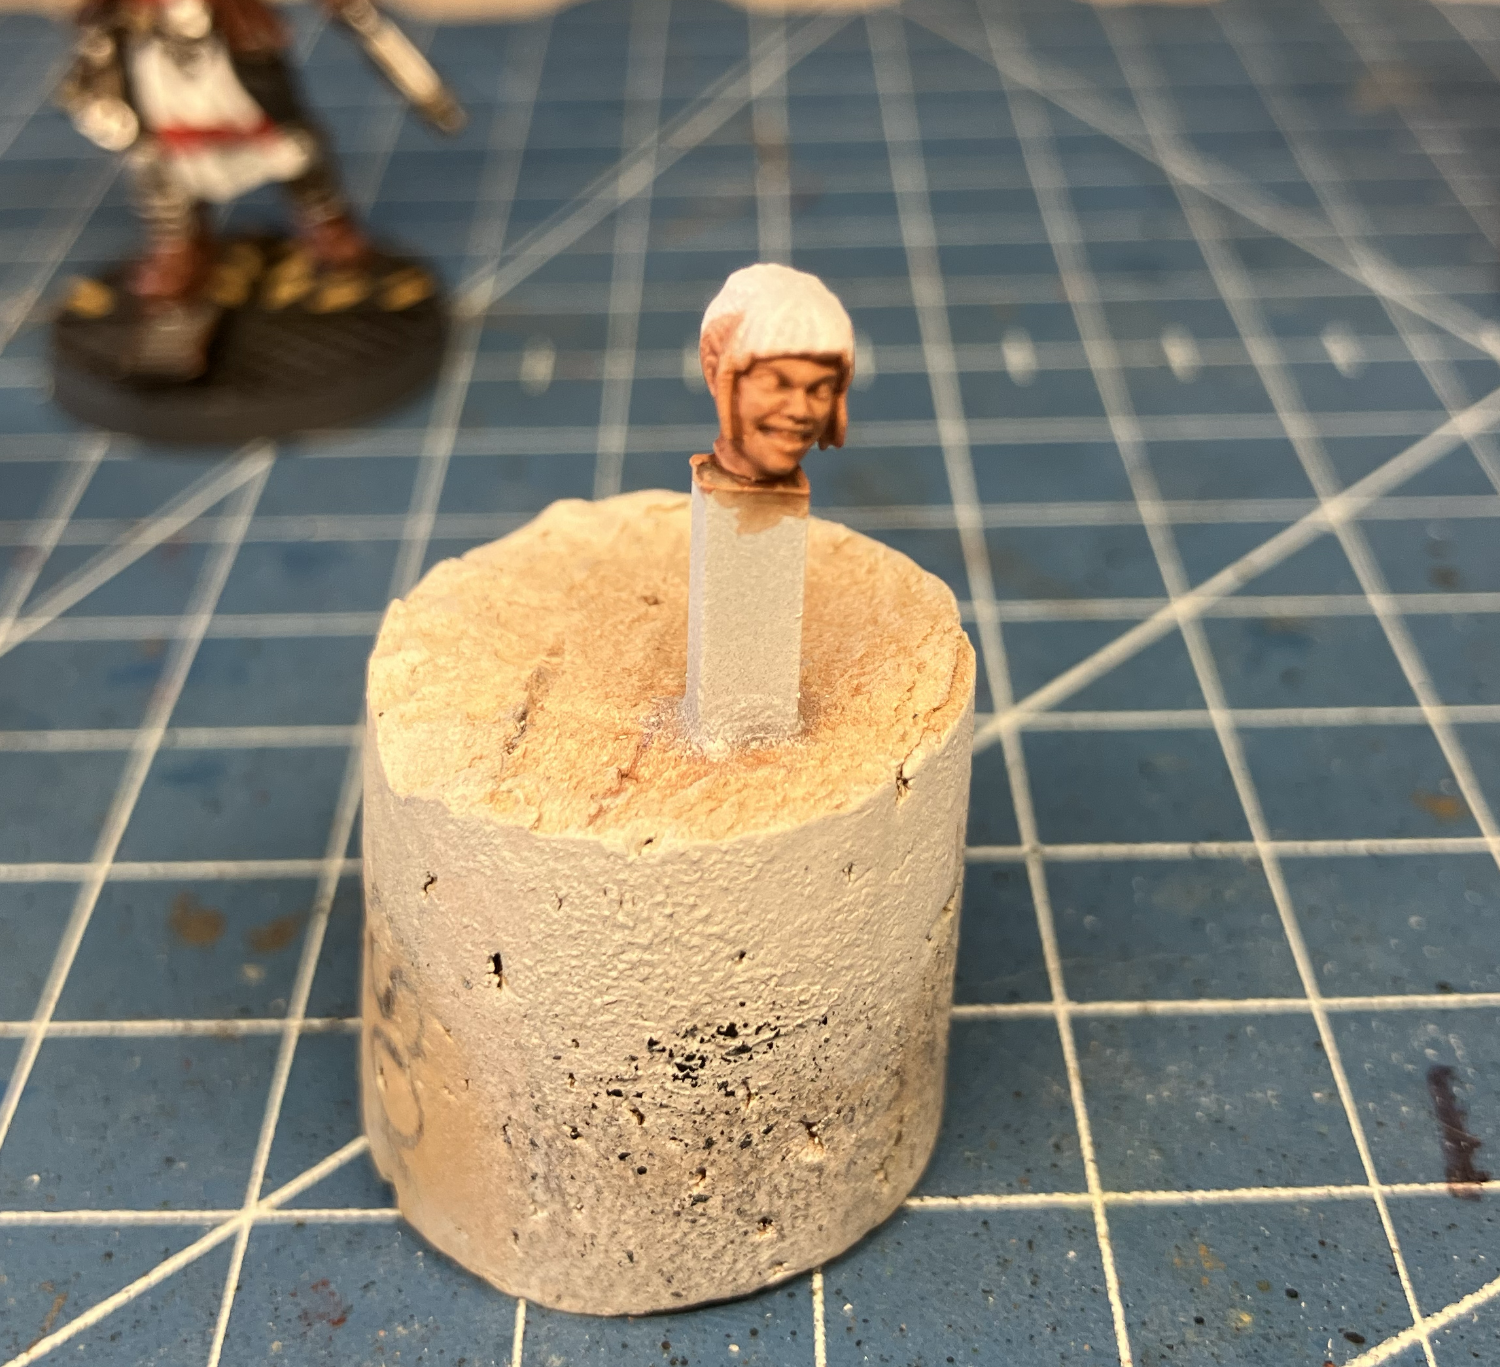
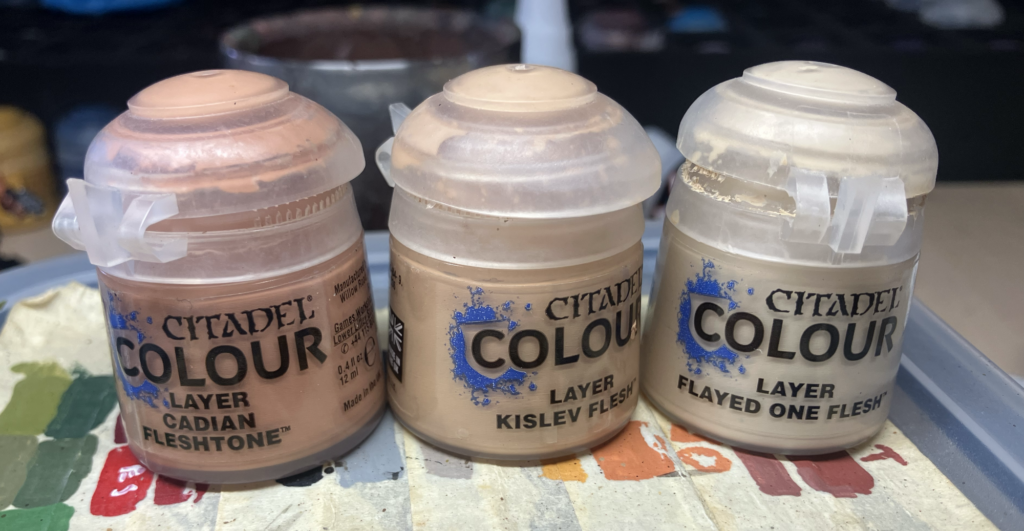
When I paint white skin, my recipe is pretty simple. I base it out with Cadian Fleshtone and then apply a wash of Guilliman Flesh contrast paint. I like the way the reddish color darkens the recesses and adds a little bit of color to the base. Just enough that it provides a smooth transition when I reapply a couple of very, very thinned down layers of Cadian Fleshtone again to allow for a very subtle gradient to build up.
This is the only part that’s a little bit tricky.
I take the smallest dab of Kislev Flesh and mix it into the Cadian Fleshtone to get a lighter paint and thin it with a lot of water. This then gets applied on the forehead, cheeks, neck, the ears. Most of the high bits, leaving a little bit of the original Cadian Fleshtone to blend into the darker recesses. I repeat this a couple of times, adding another small dab of Kislev flesh and painting ever smaller areas of the face, like the brow-line, the high cheekbones, the top of the nose.
Lastly, I mix in just a little Flayed One Flesh into my mix which is probably now 80/20 Kislev Flesh/Cadian Fleshtone and just get the absolute highlights like the tips of the ears, the tip of the nose, the very highest part of the cheeks.
Then I put a tiny bit of white in the eyes and the teeth, so thin it’s almost a glaze. Here, and unfortunately you can’t really see it well, I like to put the pupils in the corner like they’re looking off to the side. It makes them look a little coy and it stops them from looking cross-eyed.
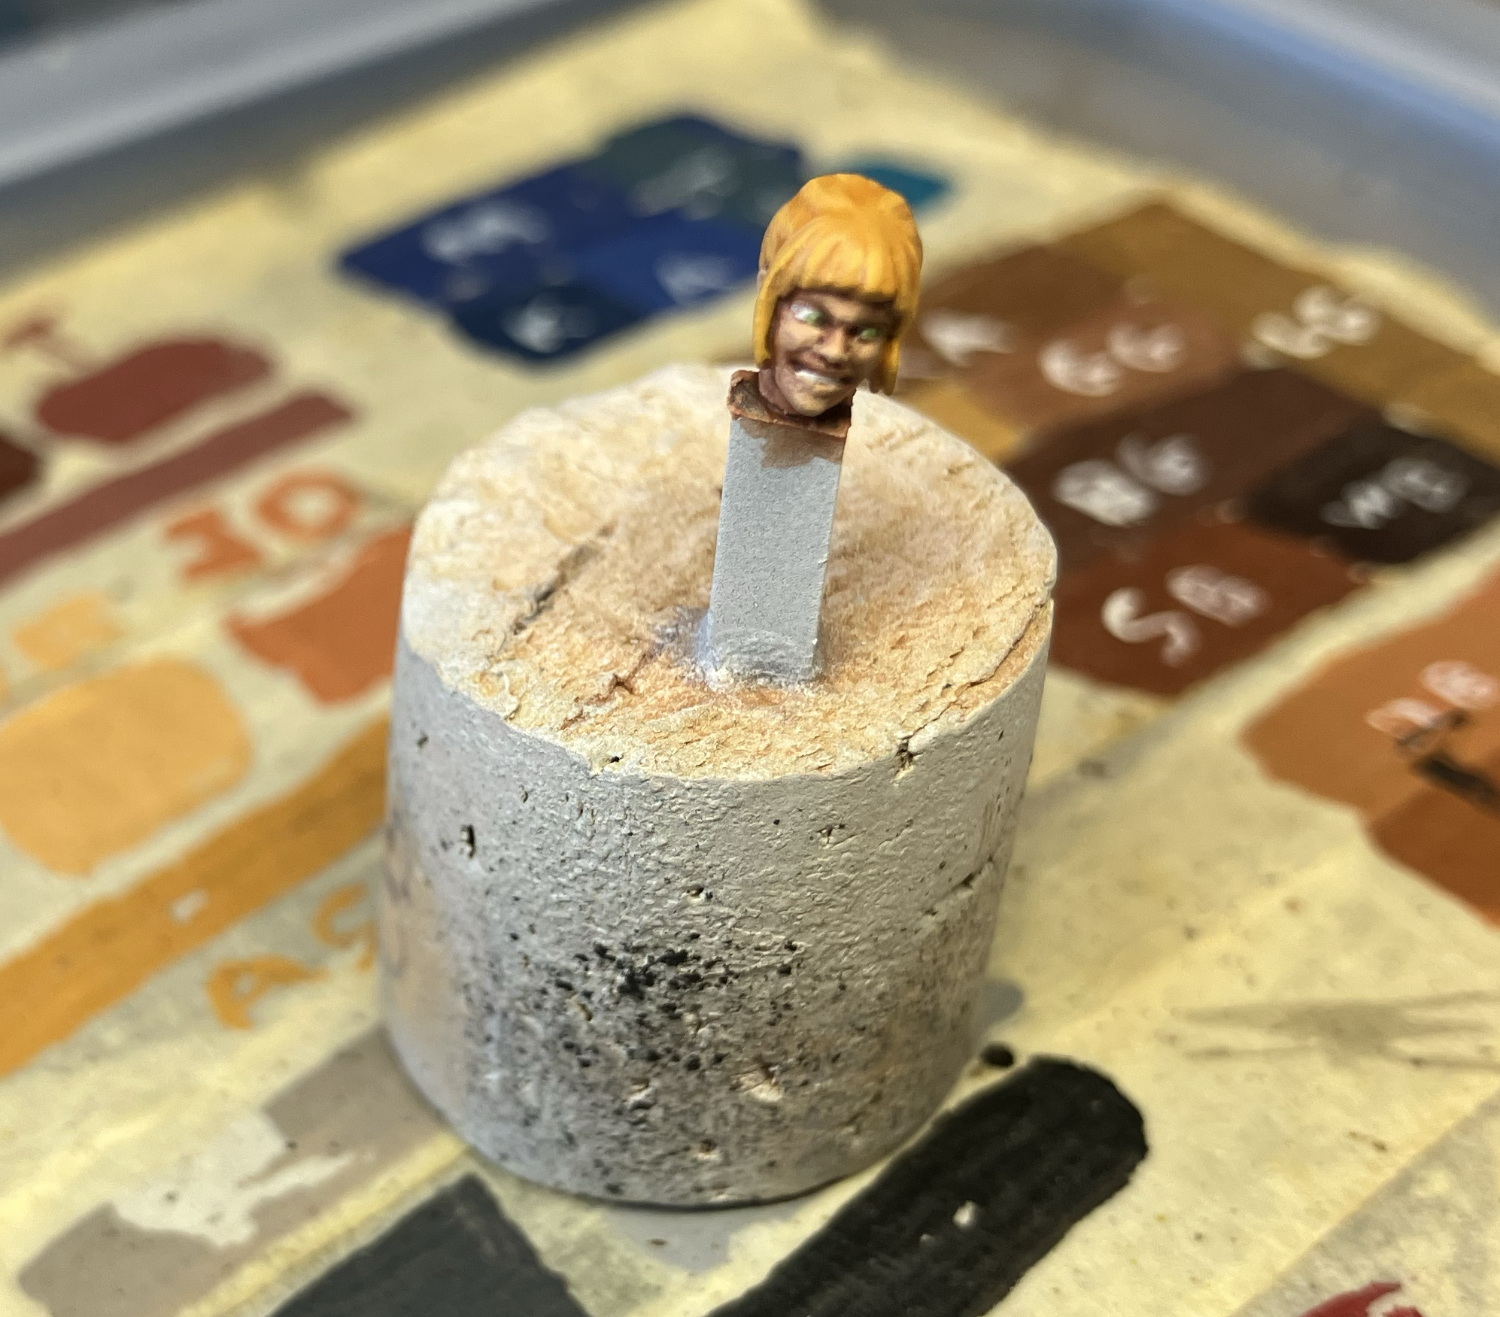
Again, taking pictures with my iPhone SE at my painting desk isn’t exactly awesome but the results do look pretty good.
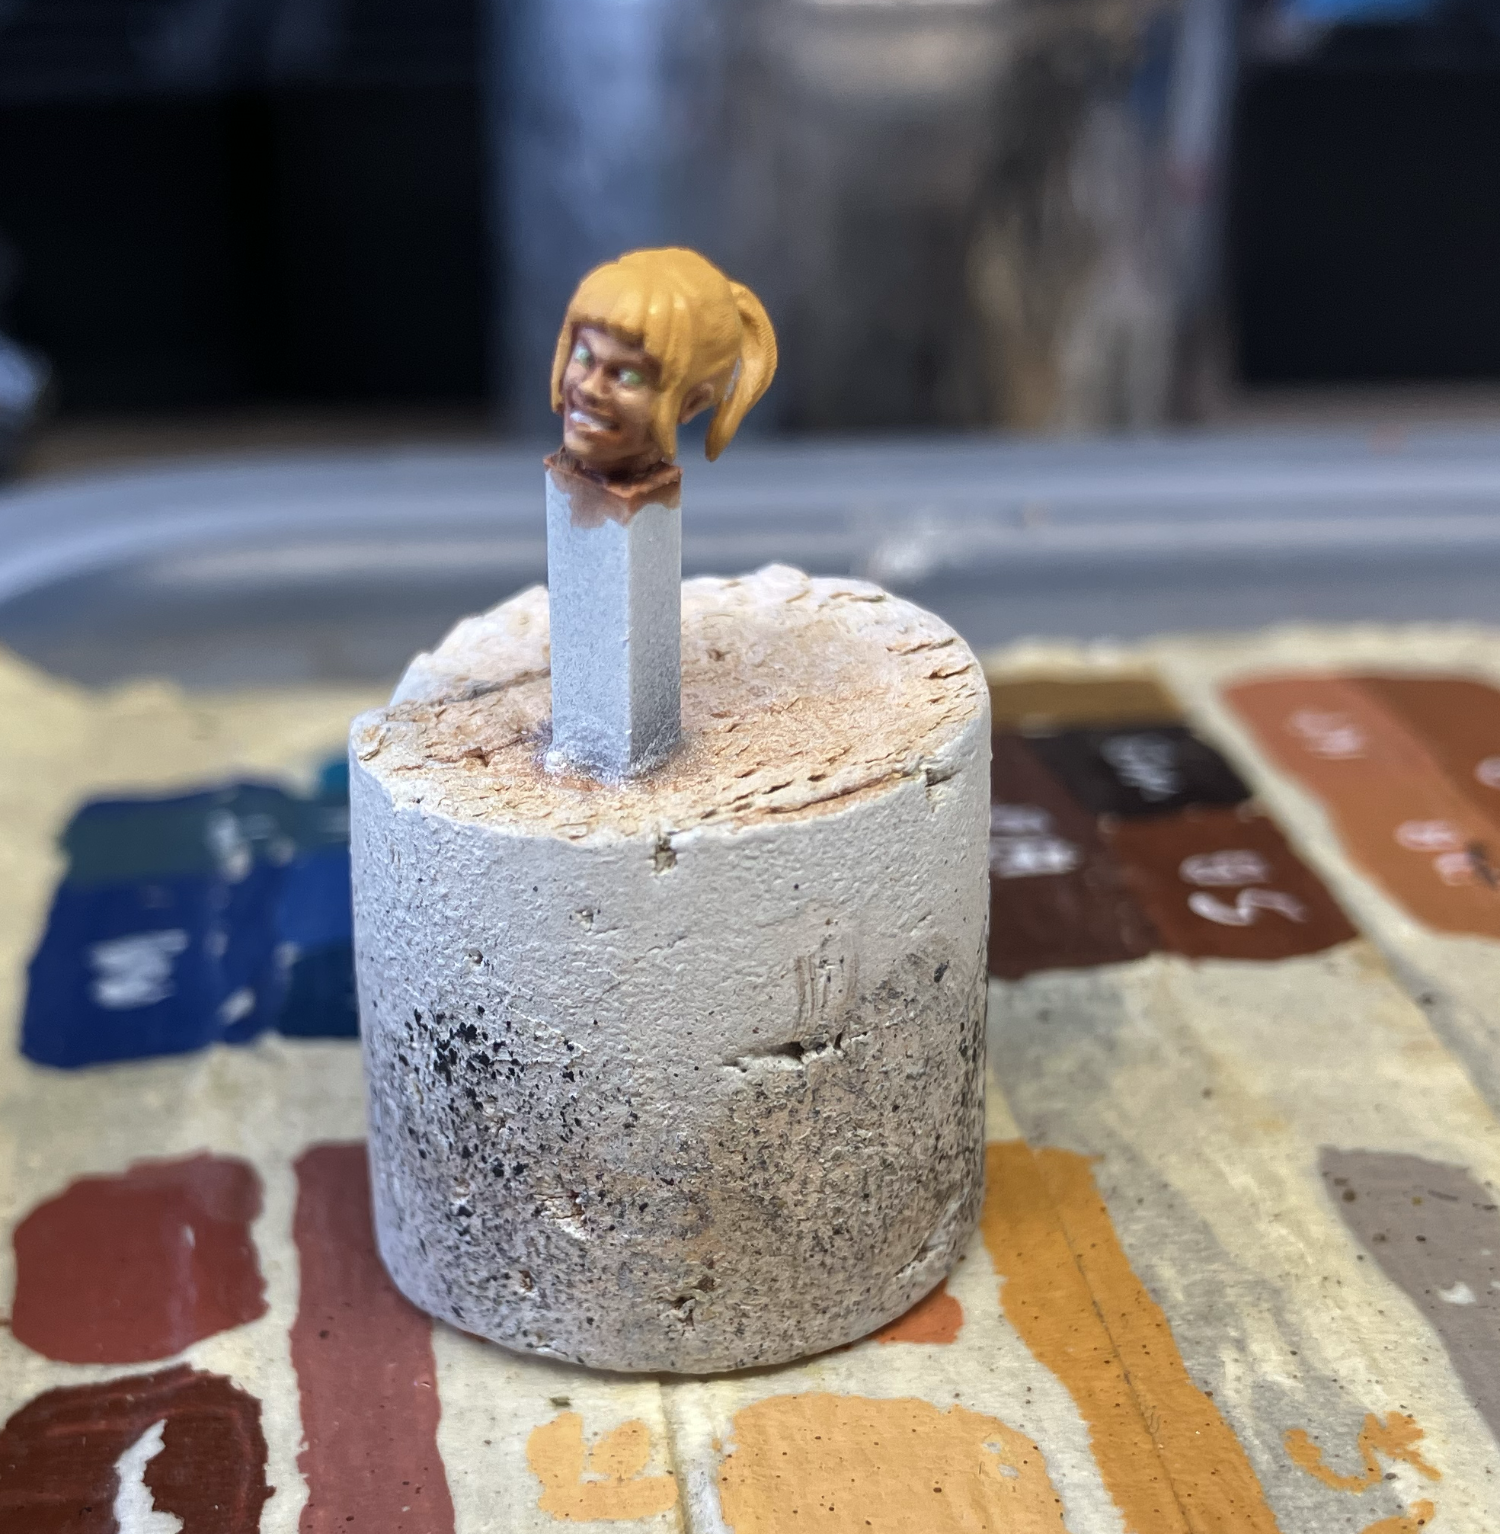
Last to do on the head was the hair. Previously, she had been a mousey-brown with purple and blue highlights. Well… my Orlocks need a blonde and blonde hair is really easy.
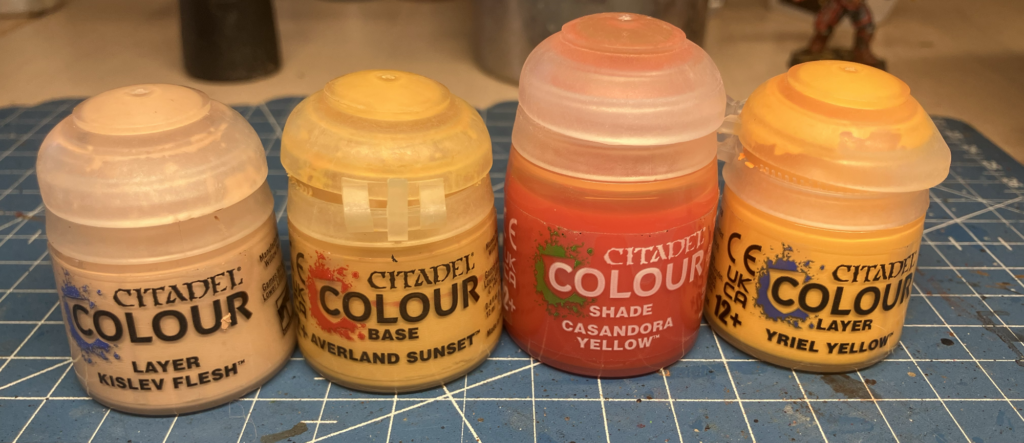
Using what was left of my Kislev Flesh mix, I mixed in some Averland Sunset to get a nice warm yellow. I applied that over all her hair. Once the paint dried, I gave it a wash with Casandora Yellow then picked out most of it again with my Averland/Kislev mix. Then, just for a little bit of fun, I added Yriel Yellow to the mix and picked out the absolute highest areas and then hit the edges and corners and, on really flat areas, gave it a few lines just to give it some texture.
Last but not least, I blasted it with Green Stuff World’s Matt Varnish spray, which is very, very matte. After the varnish cured, a tiny amount of pressure popped the head off the sprue. I then used a dab of Green Stuff World’s cyanoacrylate gel glue because it fills gaps better than the liquid variety and, that was it!
Mini-911 to the rescue! A girl was given a new head and a fresh lease on life. It’s also such a cool miniature and probably won’t be made for too much longer that it was worth spending a couple of hours on (in total) to repair. Also, now I have a sweet new head-painting rig I plan on using again in the future.