This article contains links to several online stores. These links are only provided as a resource to the reader and are, in no way, sponsored by a third-party.
When I don’t know what it is I want to paint, either because I’m short of time so I can’t really do anything big or I’m creatively empty because I’ve been working on other things, there’s always one thing I know I can put on the painting table to “make progress” on: Munitorum containers.
Yes, those futuristic shipping boxes that can be seen on every gaming table everywhere. And there’s a reason why they’re on every gaming table, they’re fucking useful.
These boxes stack well so they can bring height. They’re stable on all six sides so they can be laid flat or standing on end. Their surface is wide enough for a miniature to stand on so they can be proxies for bridges and walkways. Anyone who’s seen my battlefield layouts will see more than a few Munitorum containers spread across the battlefield because they are just so versatile.
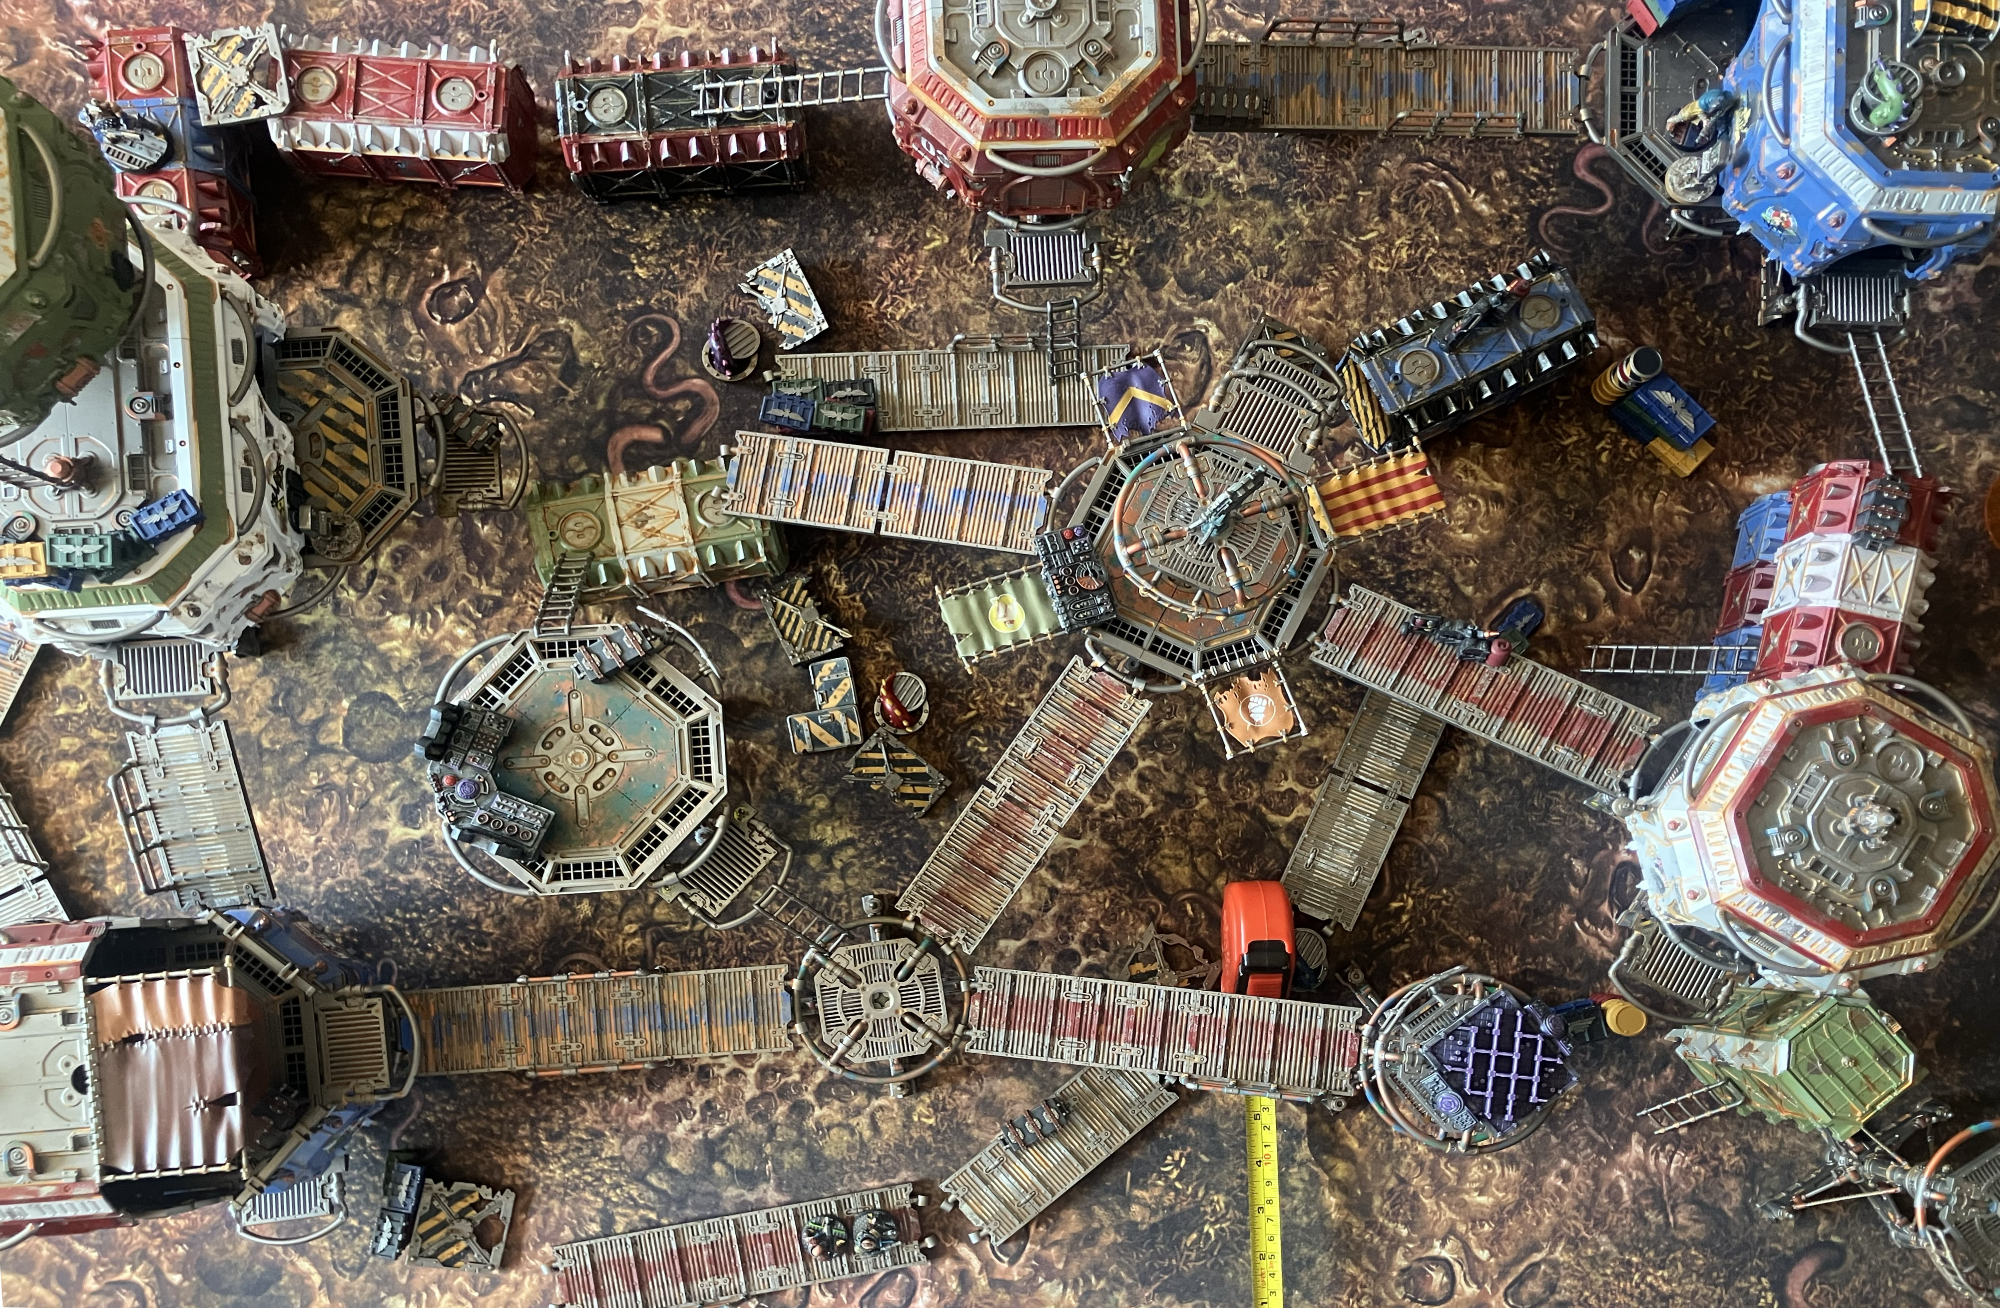
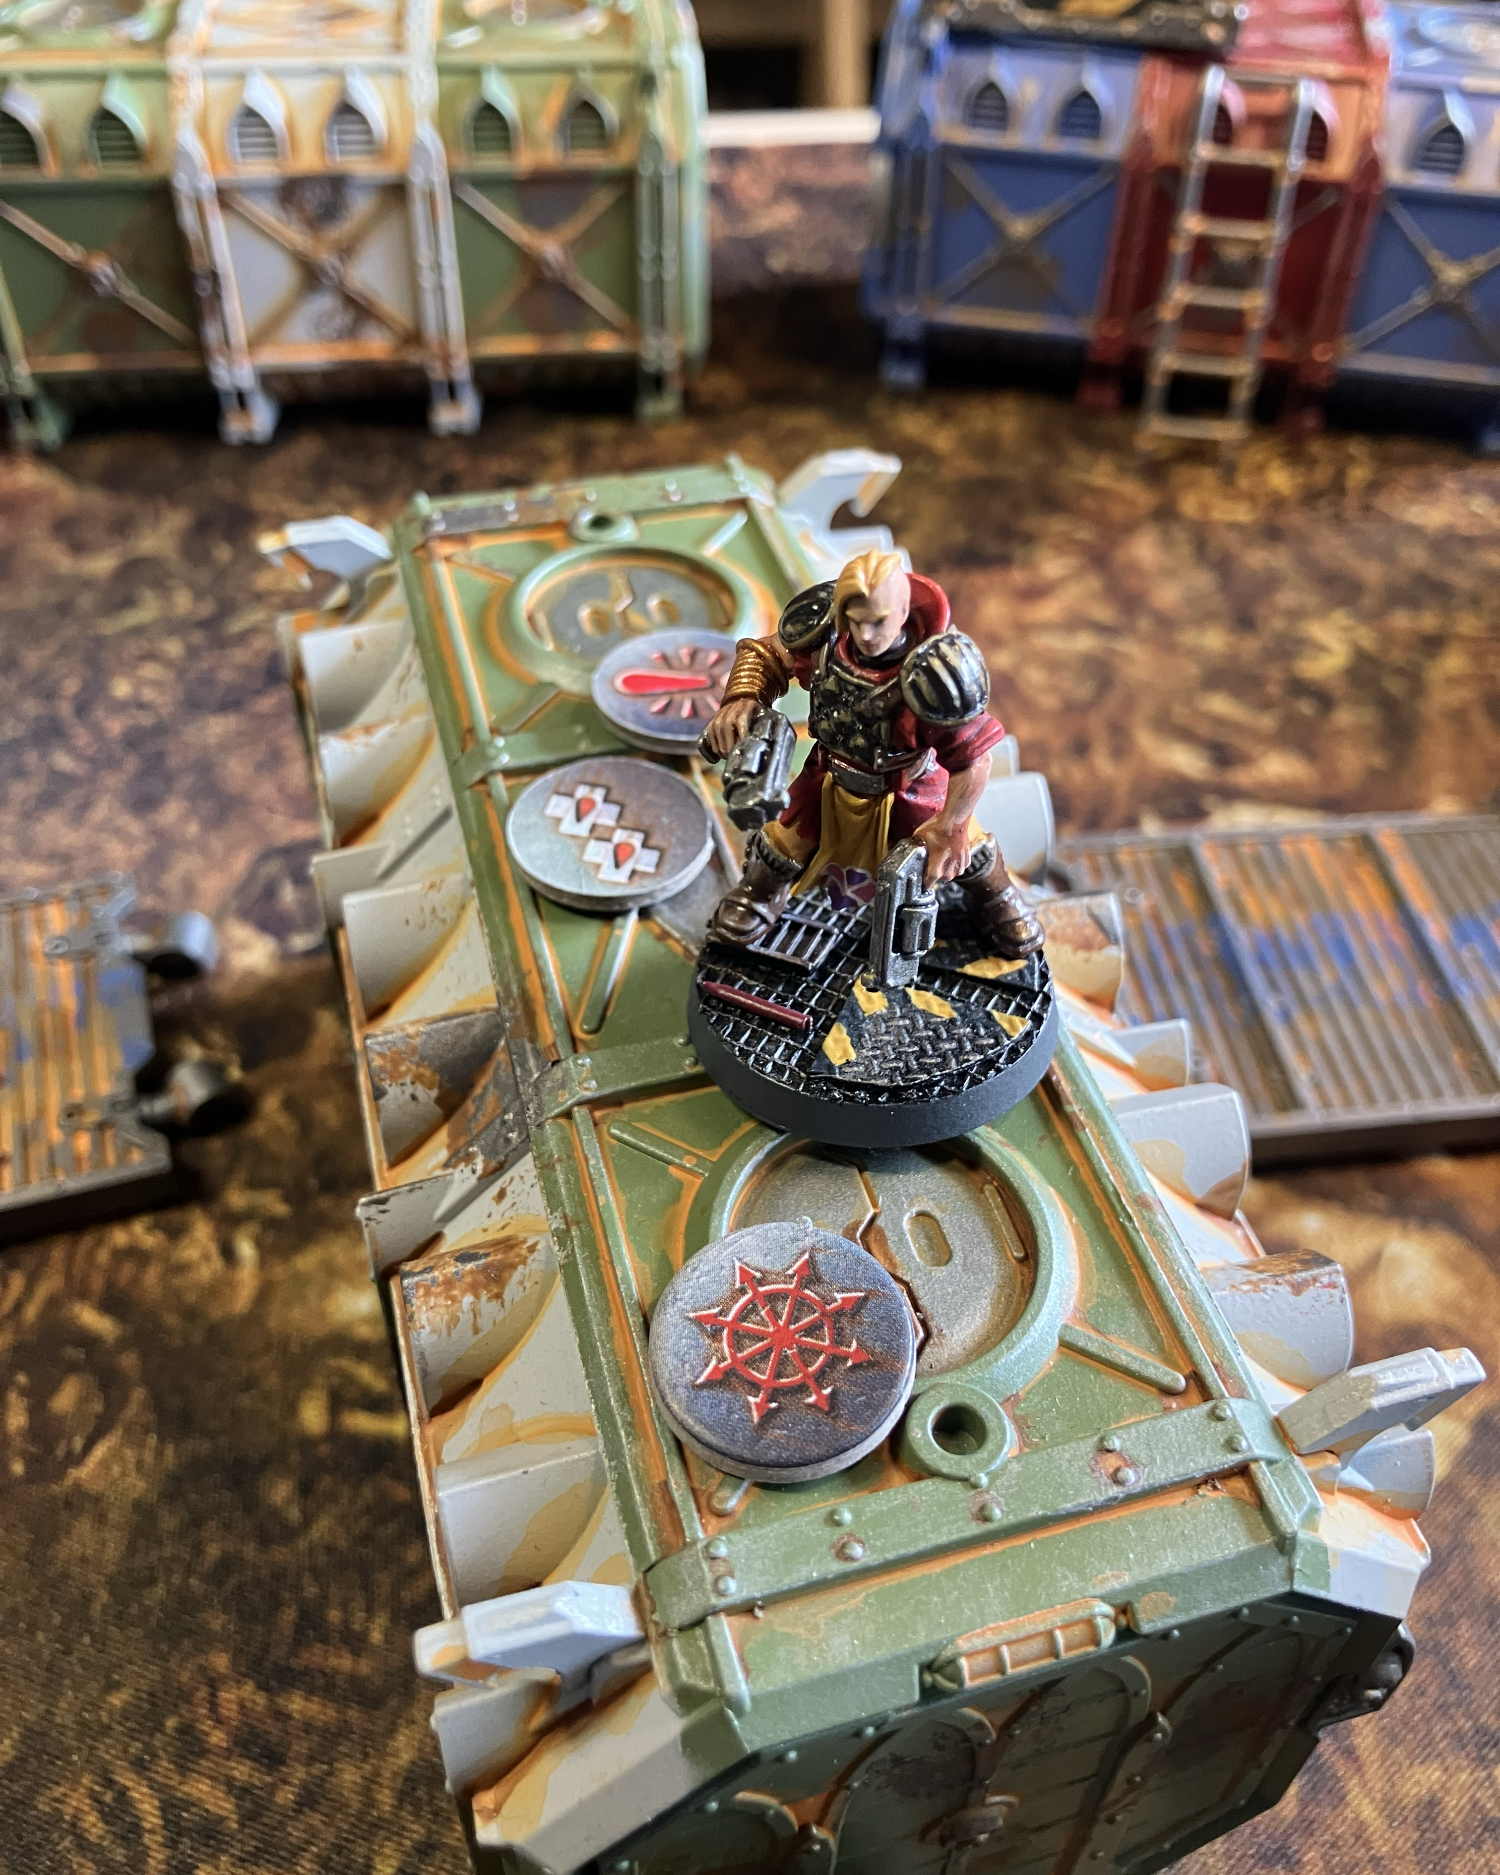
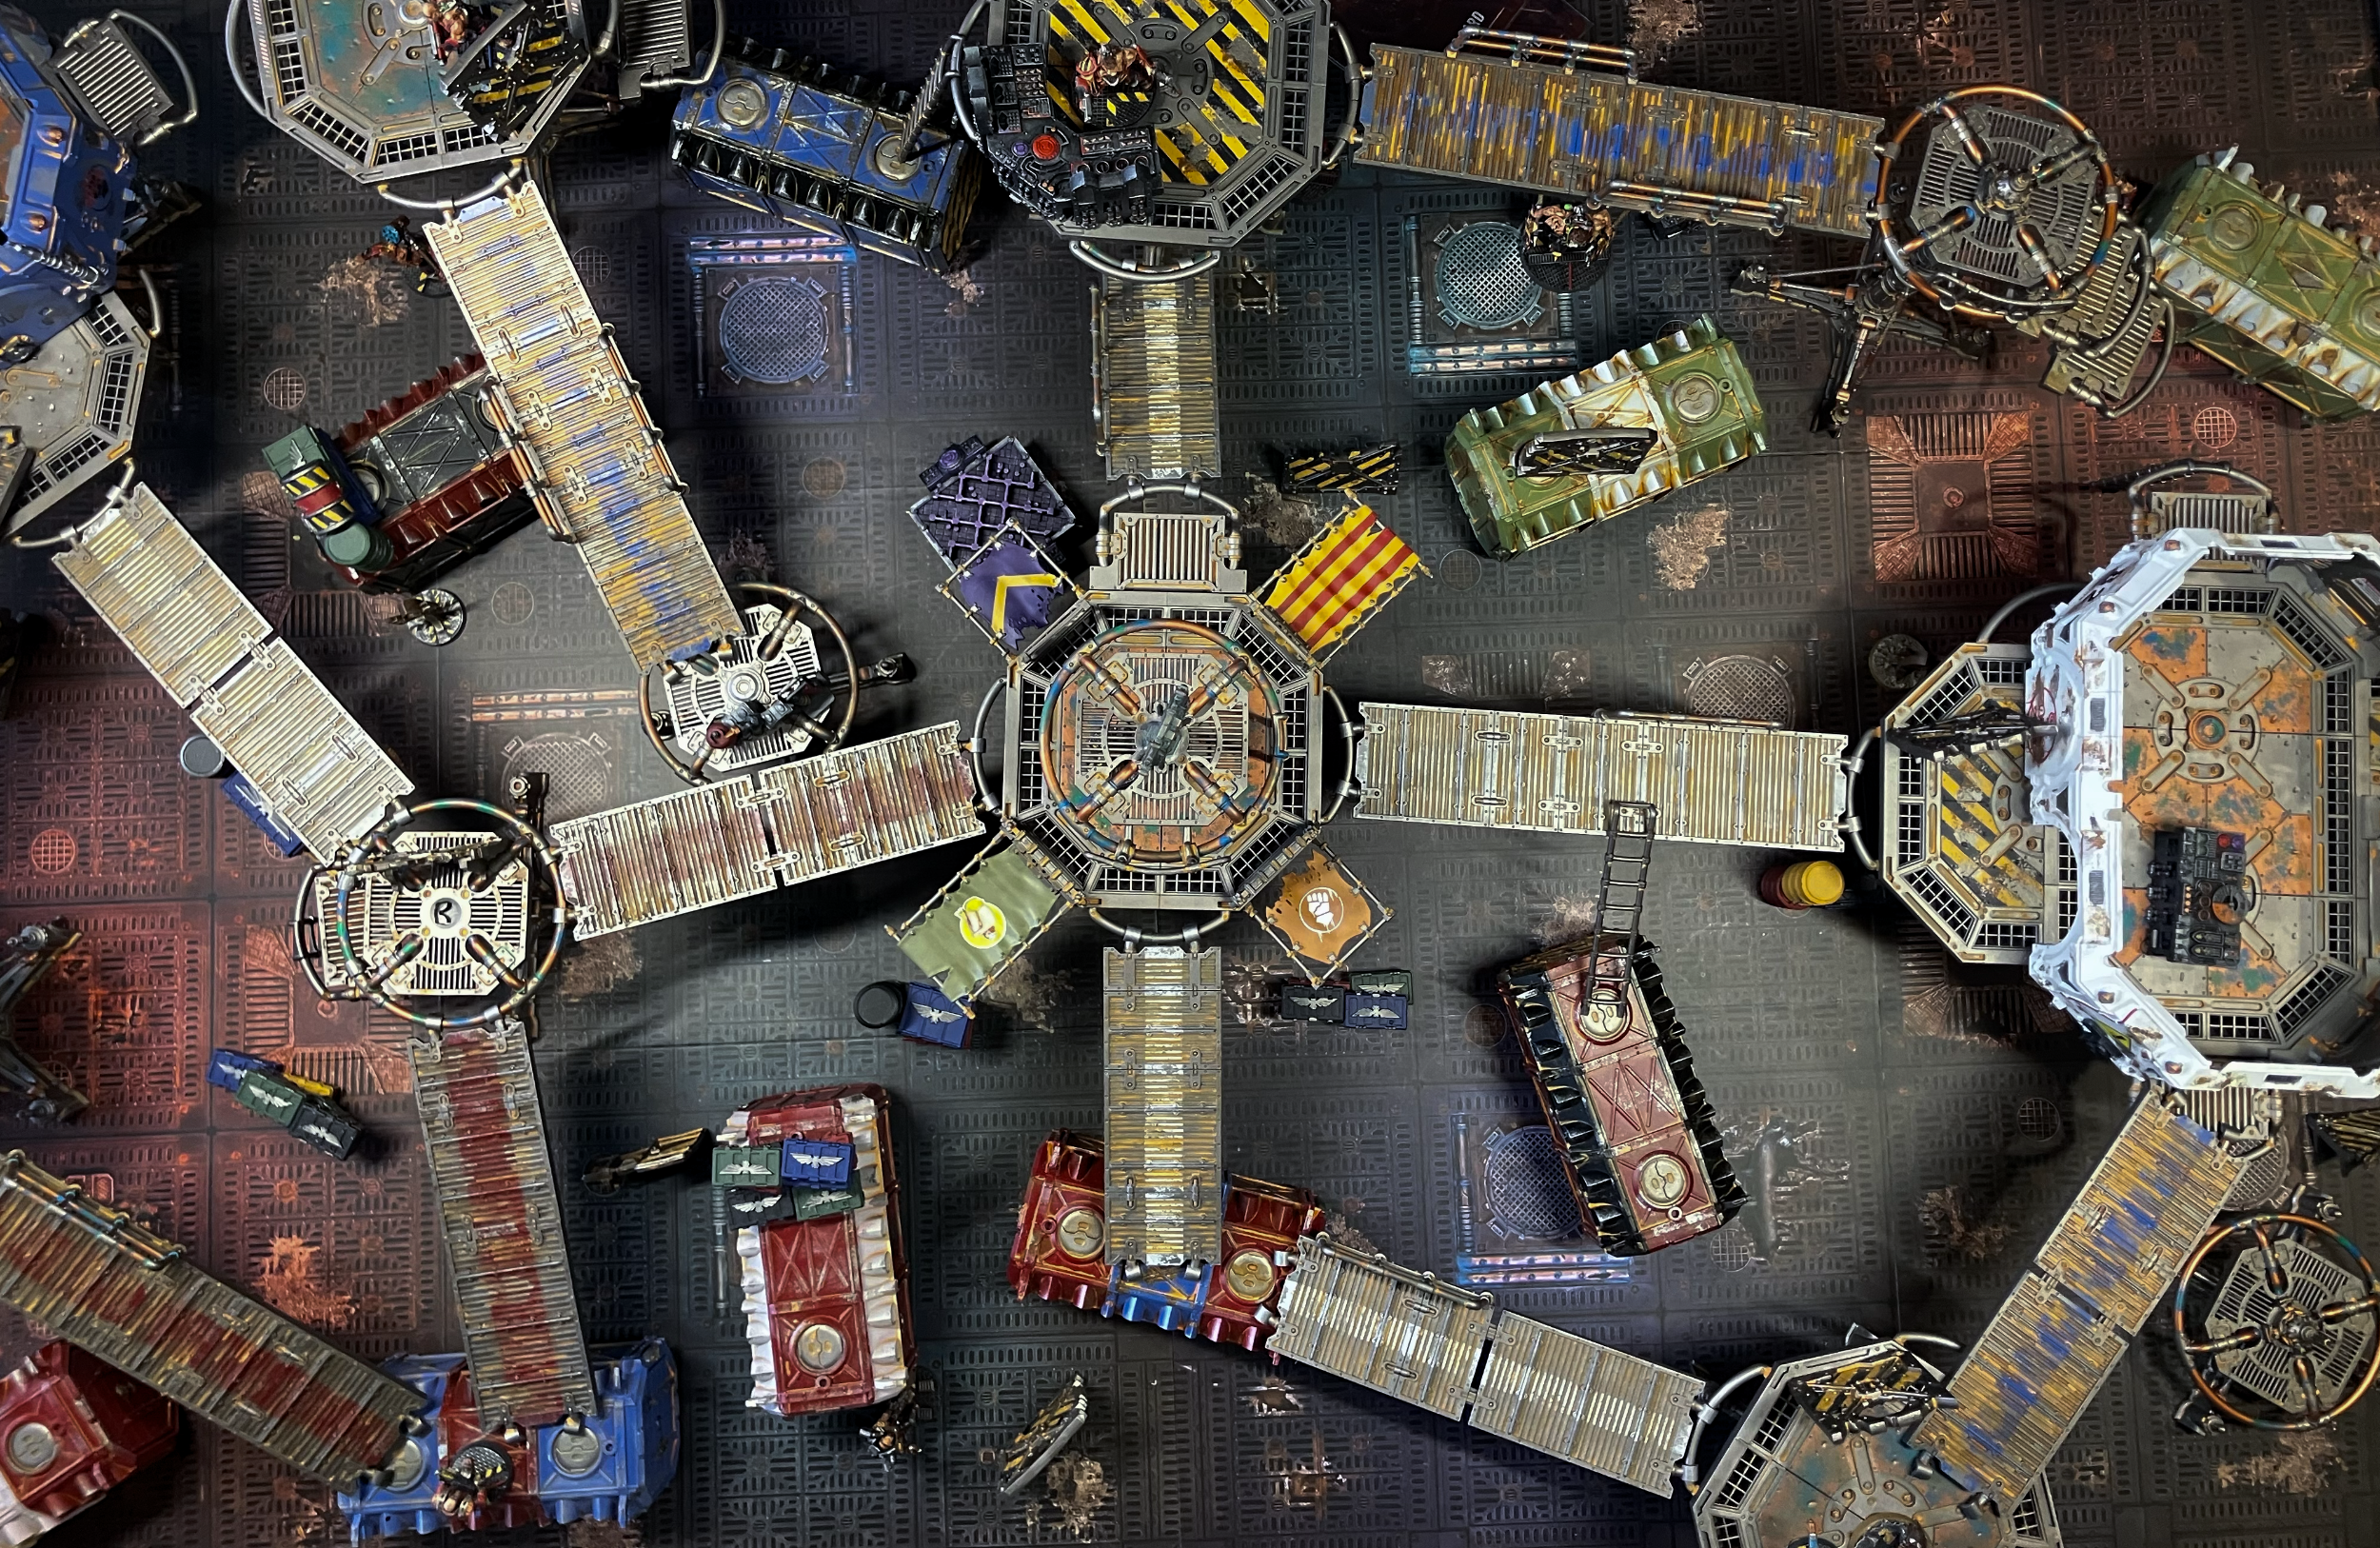
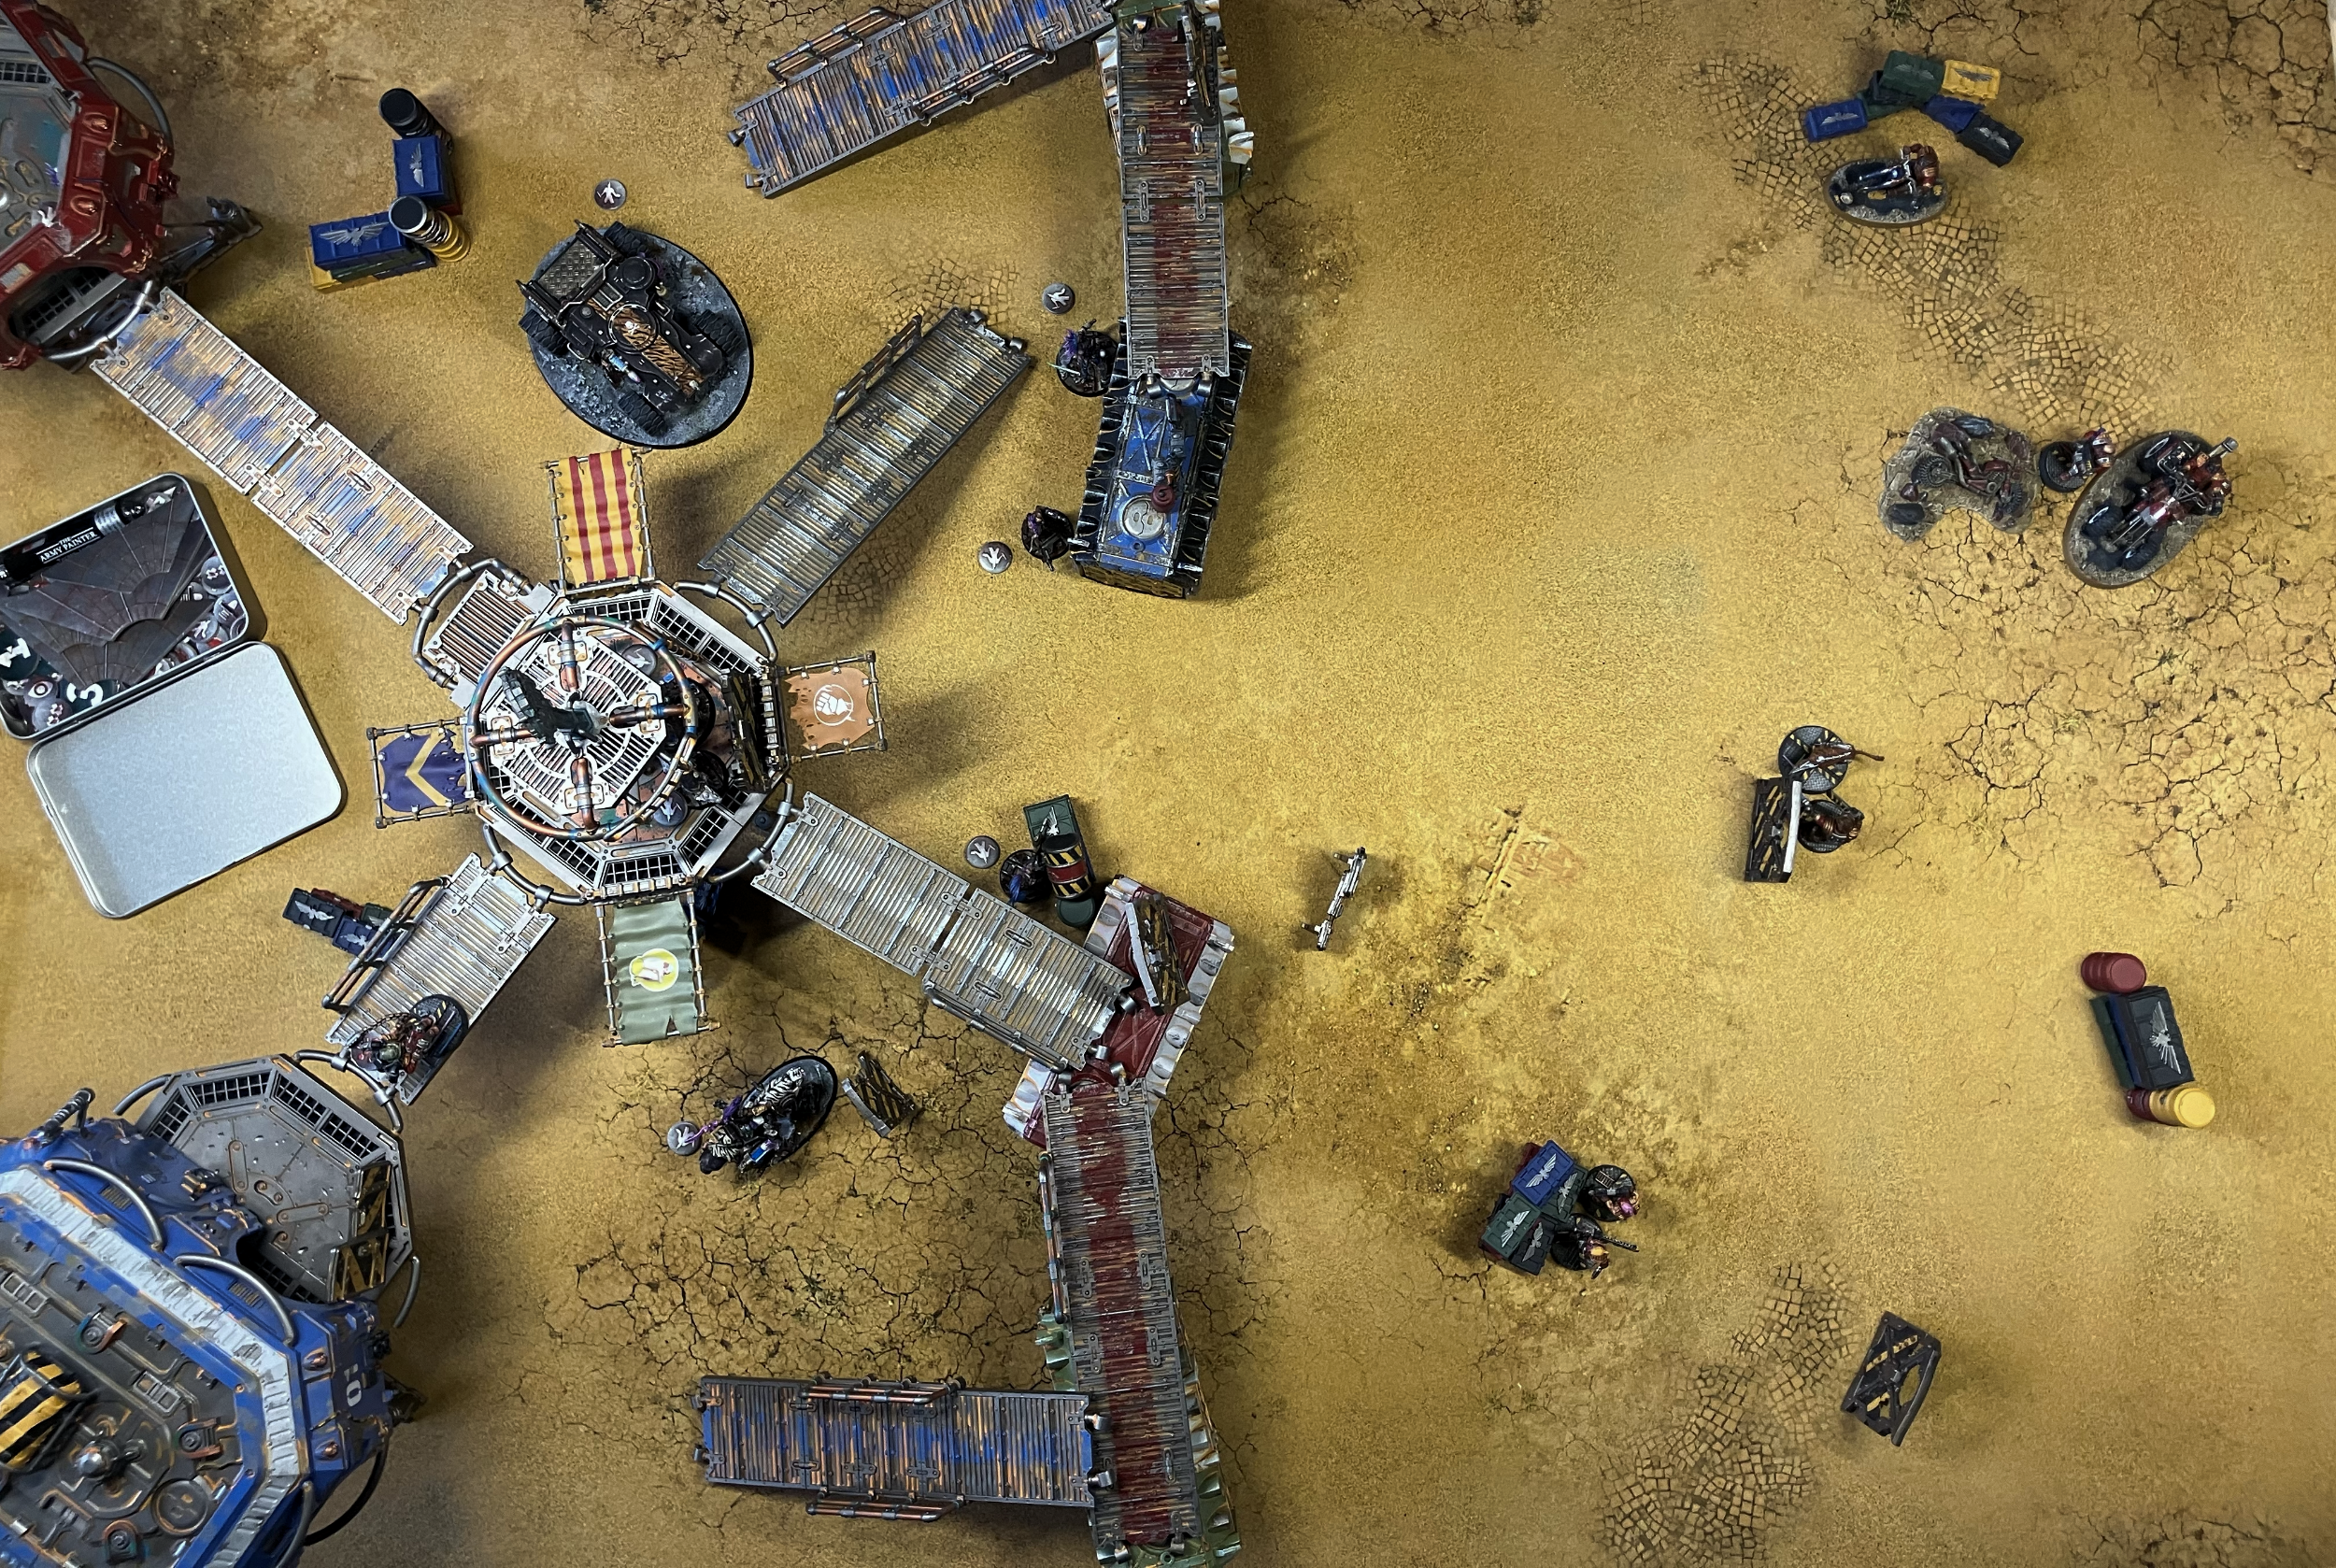
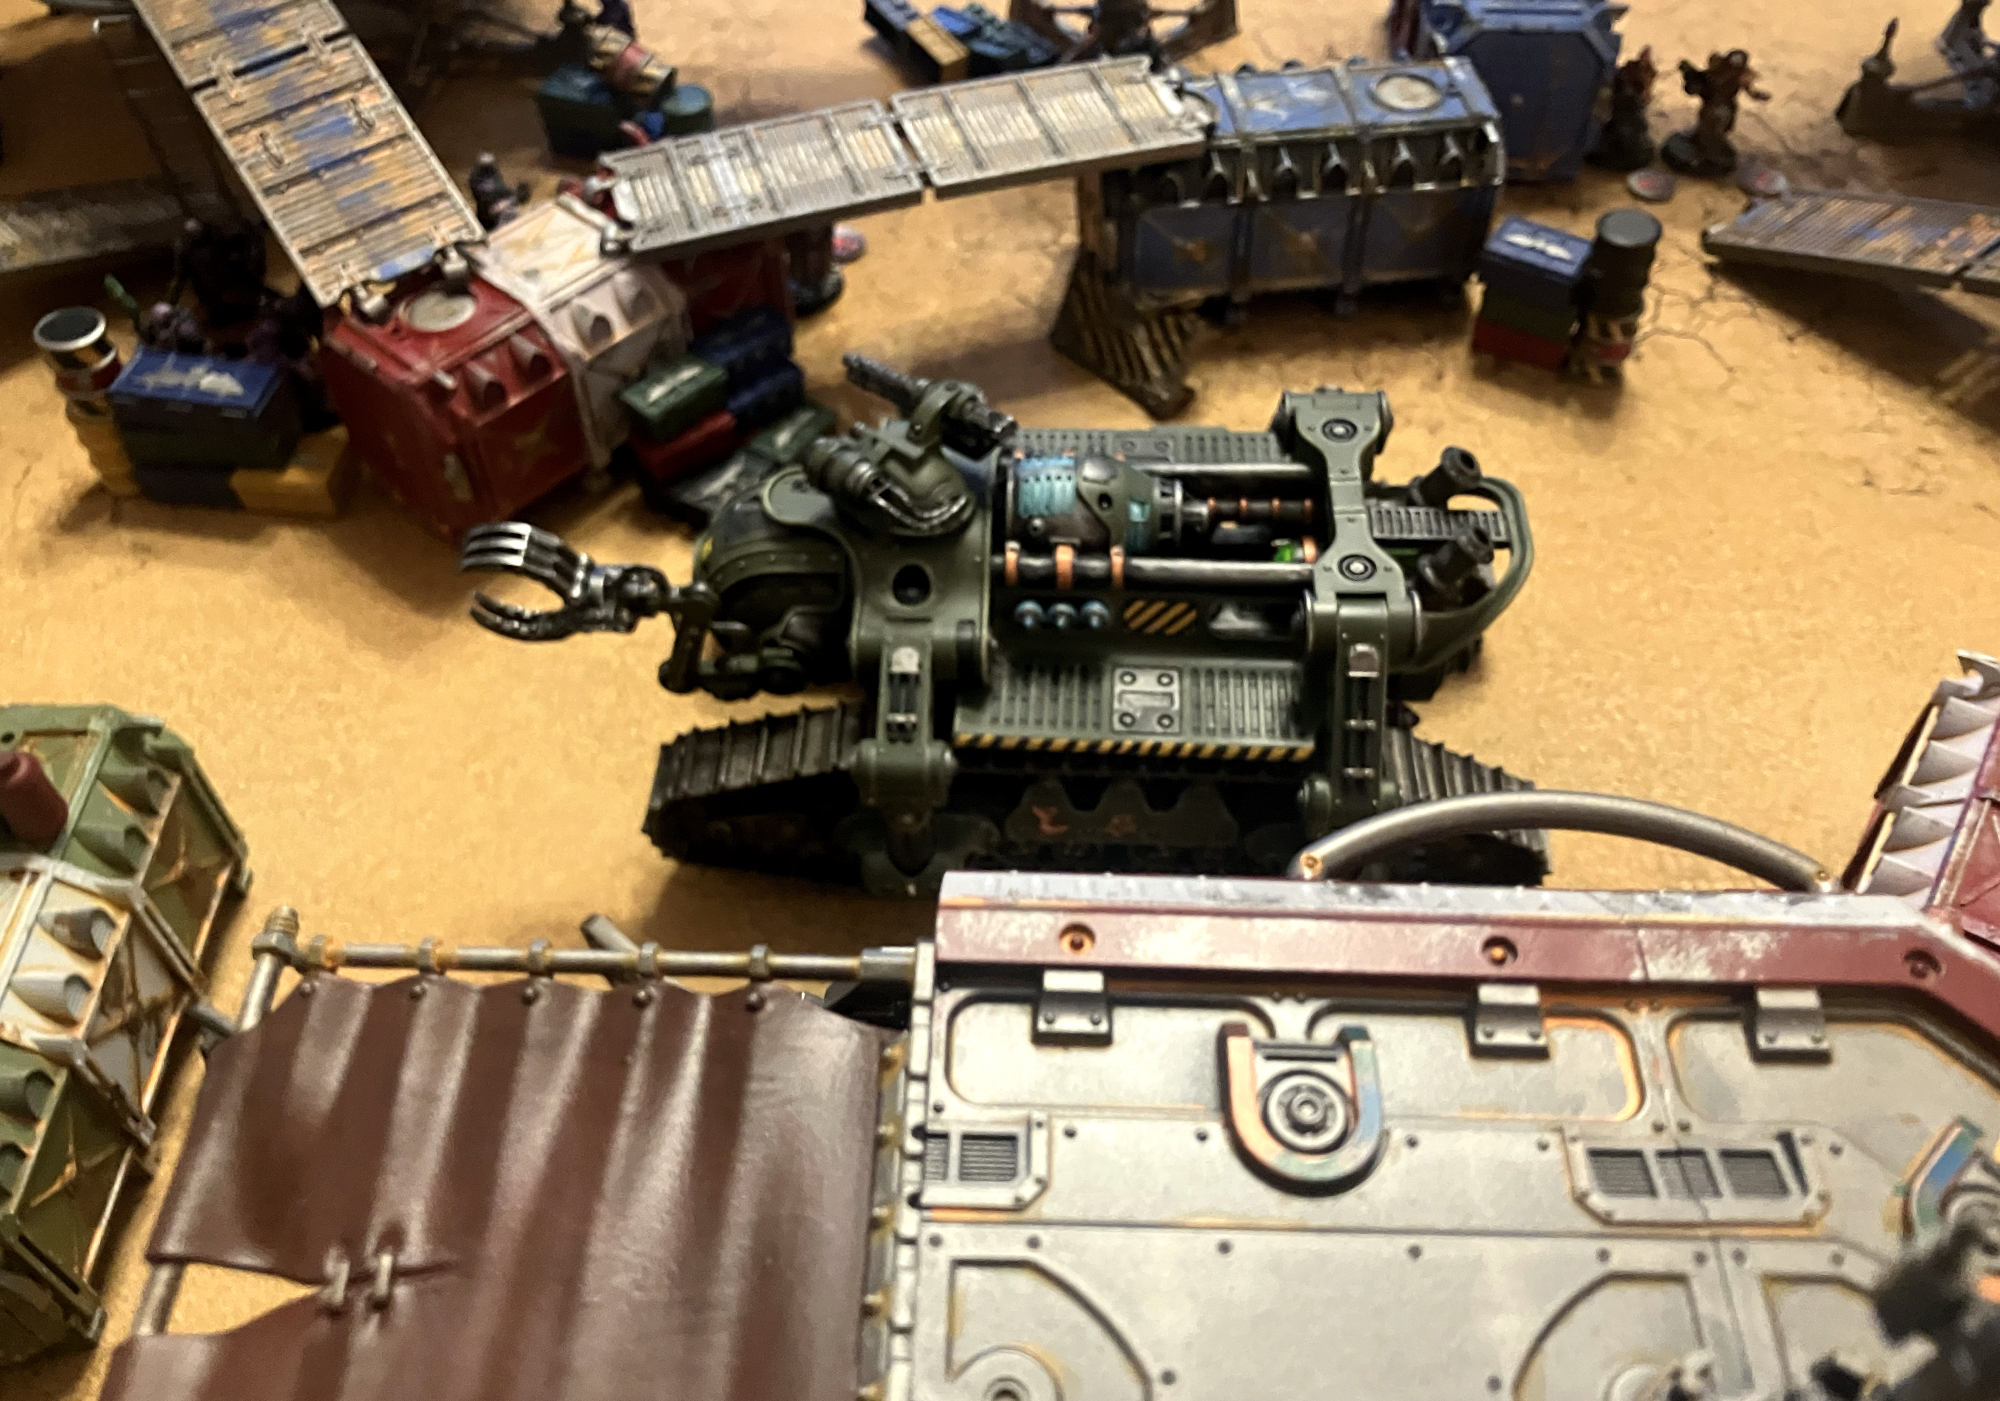
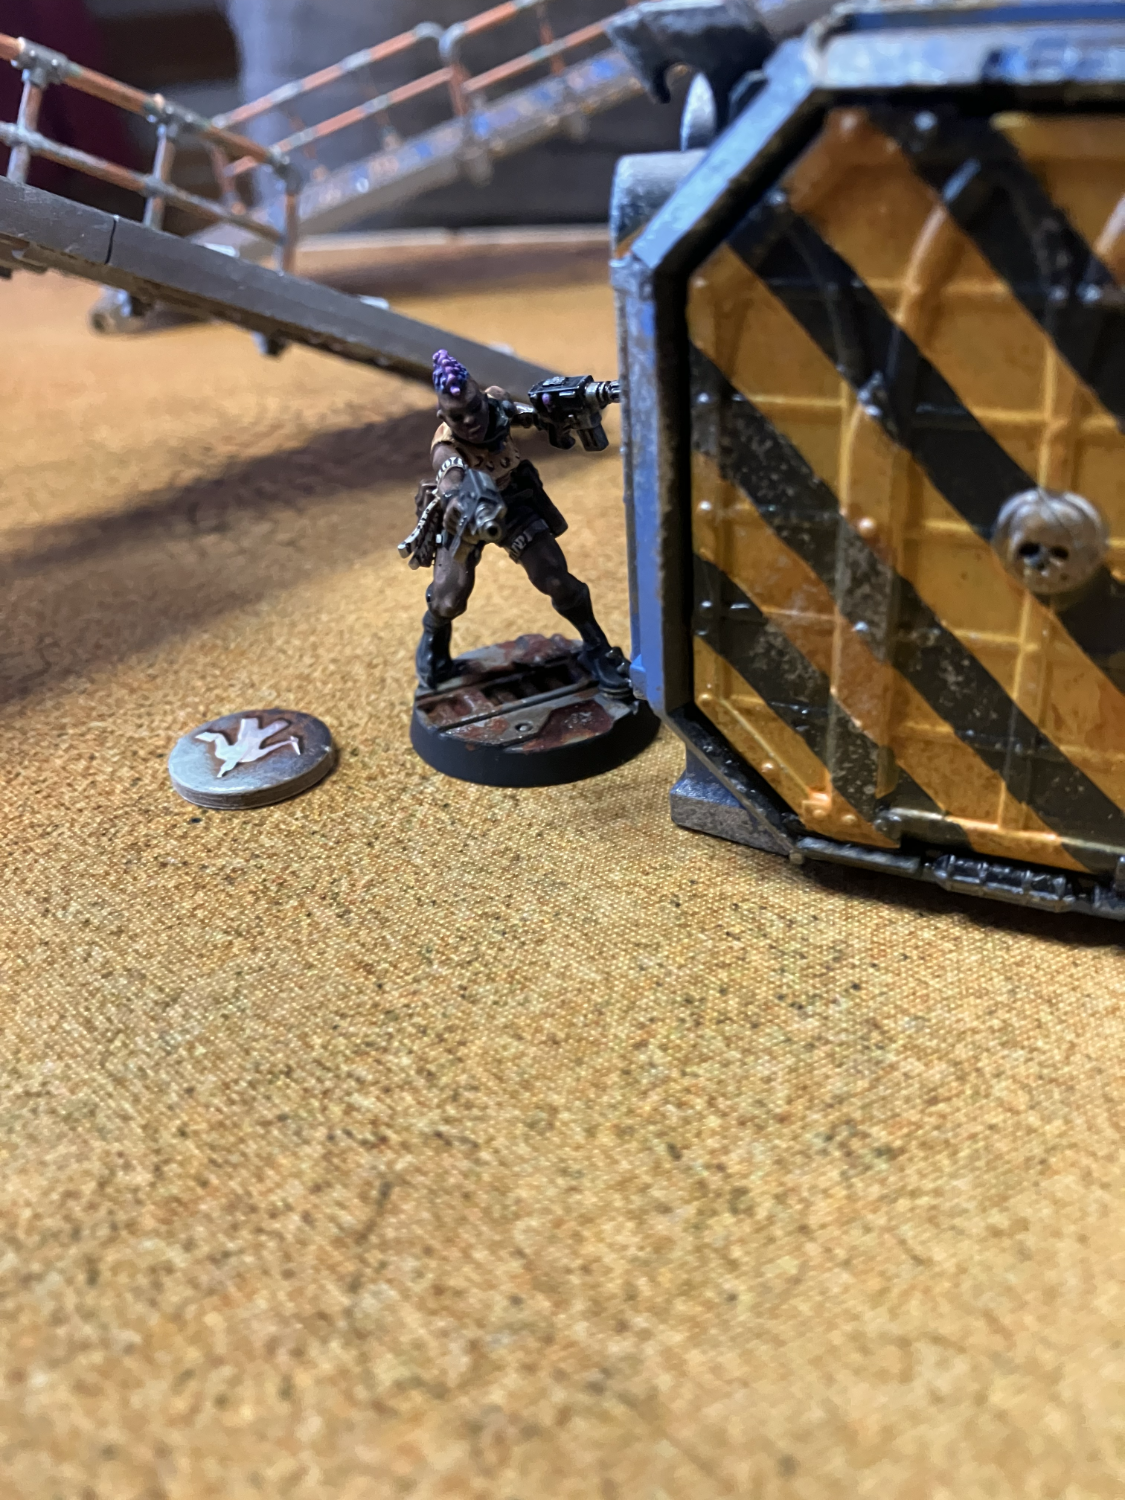
Thus, when I’m between projects or sometimes just want to get something done in a weekend, I’ll put together a few more boxes and paint them up. Because, honestly, you can never have too many.
Even though I’m going to walk through what I do to bring these to the table, I want to be clear that there is no wrong way to paint these things. While every miniature on the painting table may be a blank slate to a degree, none are more so than these boxes. You can, and I have, scratched off details to make them more friendly to decals, cut out windows to make them into market stalls. I’ve seen other people glue them together in pre-arranged stacks. You can put any paint scheme you can dream of on them or none at all and just apply aging effects. The level of detail is entirely up to the painter which is why these things can be such a palette cleanser if worked on between big or trying projects.
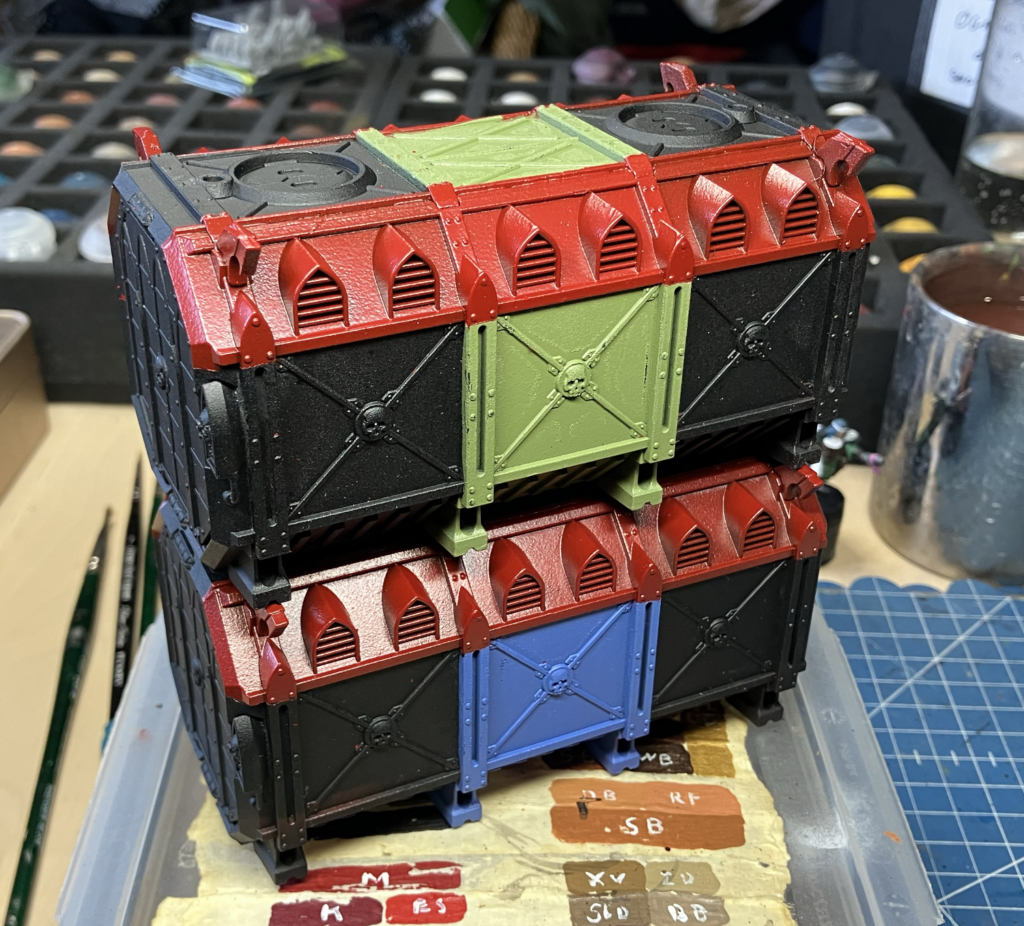
Typically, if I’m not doing something fancy with them, I like to build them and then mask them off with painter’s tape and whatever junk mail I find in my mailbox. Even before I got into miniatures, I used to paint my RC cars with a neighbor who was about my age and we learned to do this to our toys from his father who was a professional bodyshop painter. So we’d mask off all kinds of shapes and then mask again on top of what we already painted to get all kinds of interesting patterns. It was safe to say, even though the Tyco Bandit was a pretty common RC car back in the day, no one had ones like ours.
Also, painting in this way does 90% of the work for us. Yes, masking does take time, a lot of little strips of tape applied at a time but it takes a lot less time than hand painting the exact same thing.
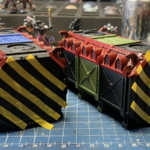
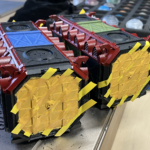
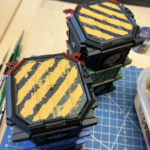
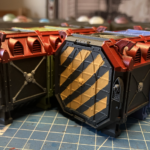
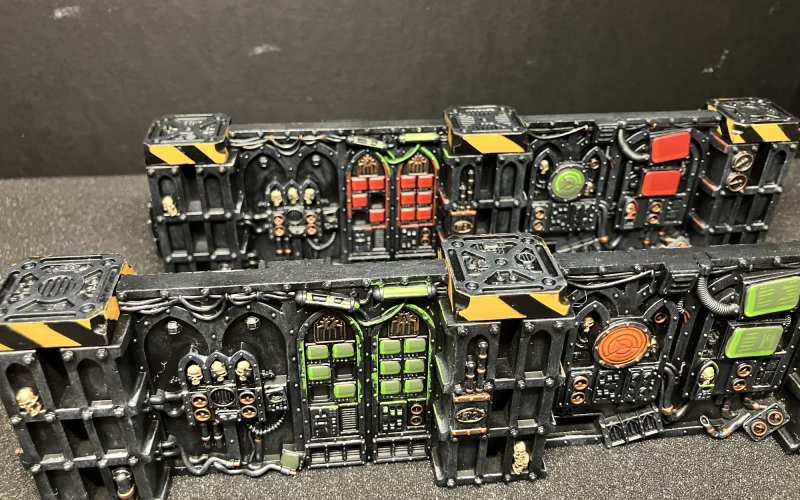
Once the primer has been applied, something I started doing with my last batch is adding hazard stripes on the doors. No real reason for doing it except that it provides a little more visual interest. To do this, I use a Green Stuff World flexible masking tape. It comes in several different widths, which is great for miniatures of all kinds of sizes but I’m pretty sure I used the 2mm width on these doors.
As you can see from the gallery, the tape isn’t perfect and the seal isn’t as tight as the painter’s tape and there is definitely some cleanup necessary. Which is why, in this case, I applied the yellow over the black instead of the other way around because fixing a yellow bleed is easier than correcting a black overspill.
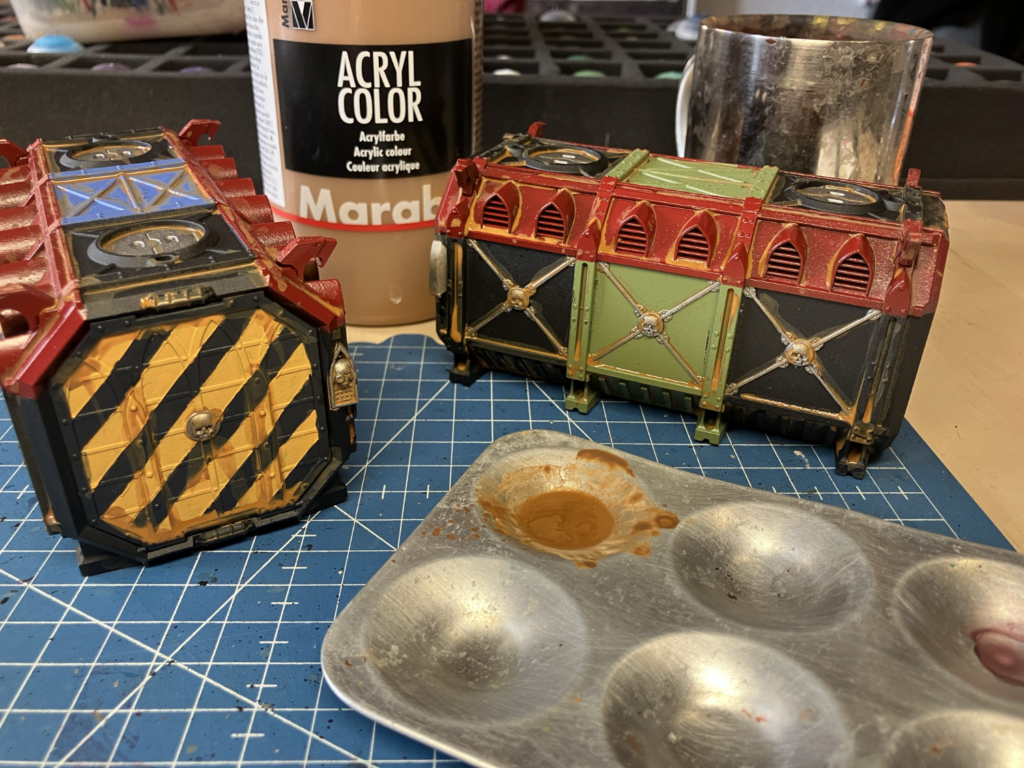
Once I’ve got that detail done and I’ve added all the metallics I want to, like on the top hatches or cross-beams, I then start the weathering process. For this I use two paints, a brown and an orange. Both of these are craft paints I have in very large bottles that I then water down until there’s very little pigment in any application and the surface tension can easily break. For weathering, I find that this really helps to replicate some of the natural weathering things accumulate when left outside.
Sometimes I apply brown and then orange or the other way around. It doesn’t really matter too much. Sometimes, before I start this stage, I might even sponge on some brown and then some metallic to increase the wear and tear look. This also gives me an additional target of where to apply rust and dirt as that area already looks particularly abused.
One thing I know for sure, the orange should go on sparingly. Dirt can accumulate over and under things and fill all kinds of gaps. But when you think about rust, it tends to form where water accumulates and isn’t easily dispersed. So, under overhangs where surface tension maintains small pools before it drops, in corners, or under metallic elements. In this case, a little can go a long way. But, if there are places where there’s too much rust, another application of watery brown just makes it look that much more forlorn.
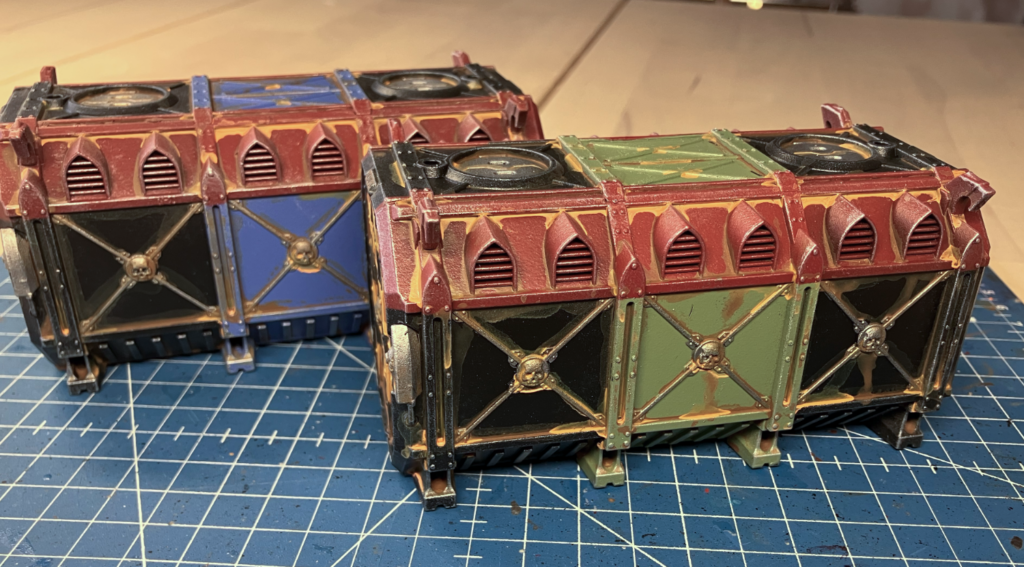
The very last thing I do, again with a craft paint, is do a very soft dry brush of all the edges. I really work off as much paint as I can from the brush and then just do gentle flicks around every edge to bring them out a bit and just to hint at edges where the paint has worn away from constant friction. I feel like less is more here but it’s really up to everyone’s individual taste.
The best thing about these boxes is, for being as useful as they are in a game, they’re also a background element and shouldn’t be as detailed as your minis. When taking photos of a game on a table, people are interested in the miniatures that are the subject. If the shipping crate in the background is stealing the show, well… something went horribly wrong! So painting these things should be nice and relaxing, a low stress exercise that is just pure creativity. With just enough character to match the result of the board.