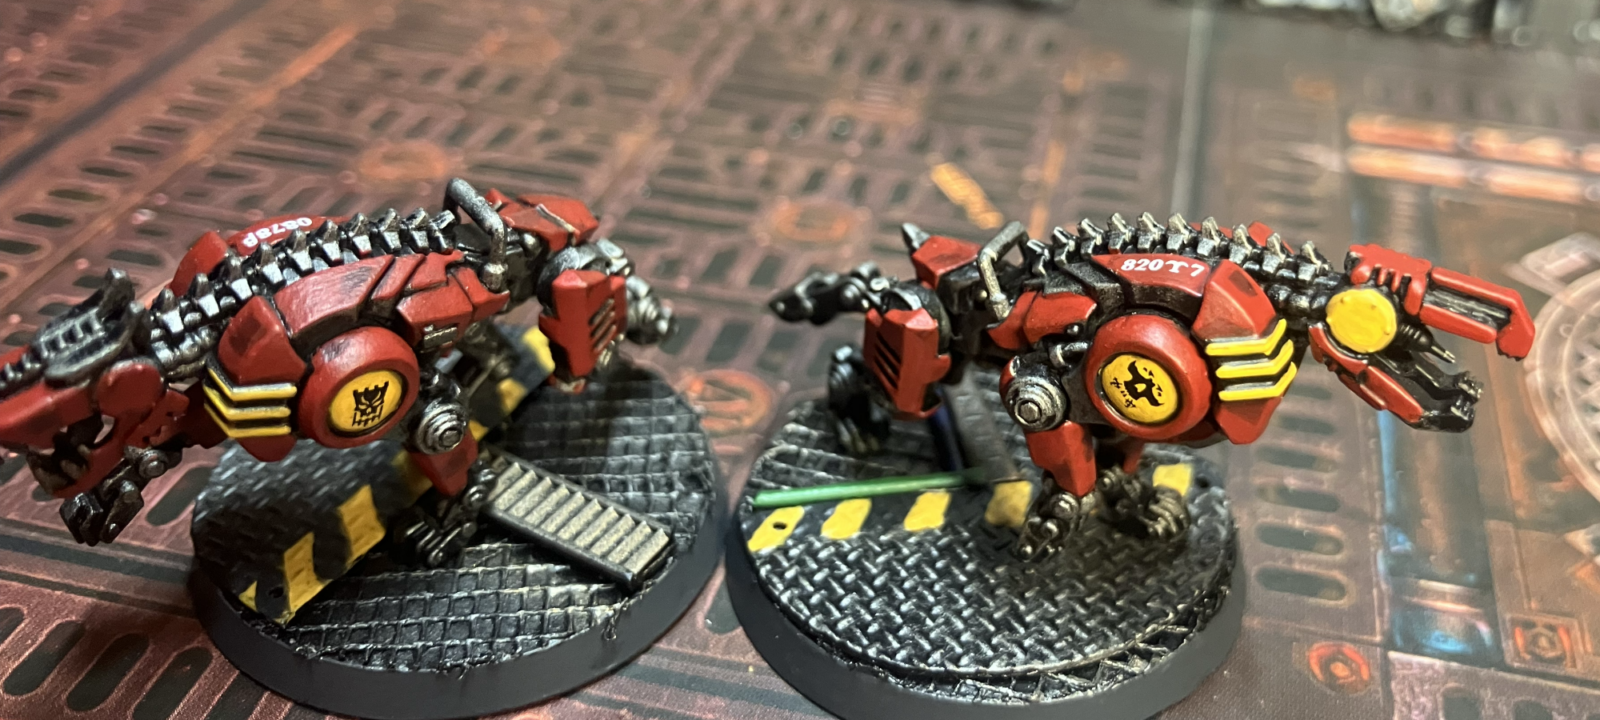
I know people who are masters in their skills with a brush. They can paint anything onto the most tiny surface. And, yet, they swear off decals as being too big of a pain in the ass.
If you’ve painted more than a couple miniatures, you’ve probably gotten a sheet of transfers with a set or two. Here’s a “hot” tip: don’t throw them away!
the idea that applying decals is a pain is only perpetuated by people who don’t know how to do them well
Just like you’ve (hopefully) been keeping the spare bits from any sprue of miniatures you’ve put together, you should put all of your decal sheets into a book or a box somewhere. You may not want to apply them to those miniatures or you may not know how to apply them but one day you will and you’ll be glad for the diversity of choice you saved for yourself.
So if decals are a pain, why keep them?
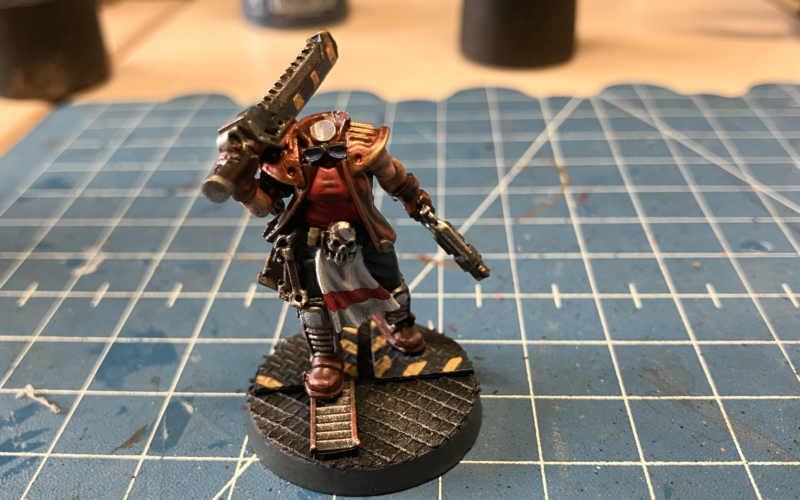
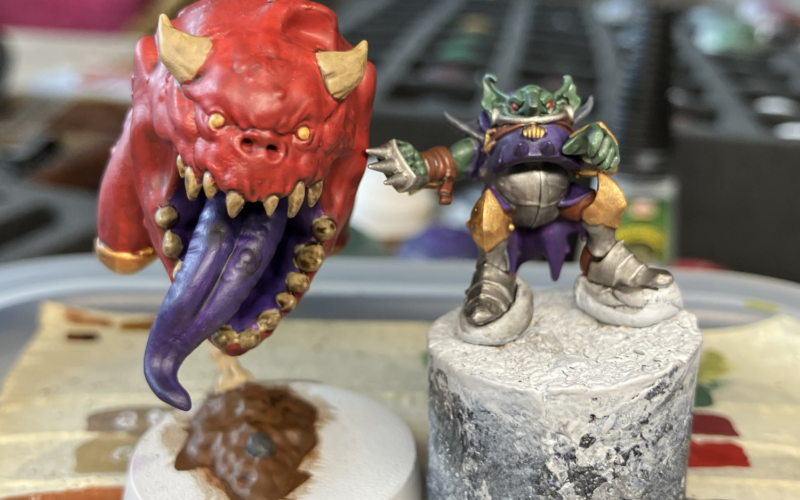
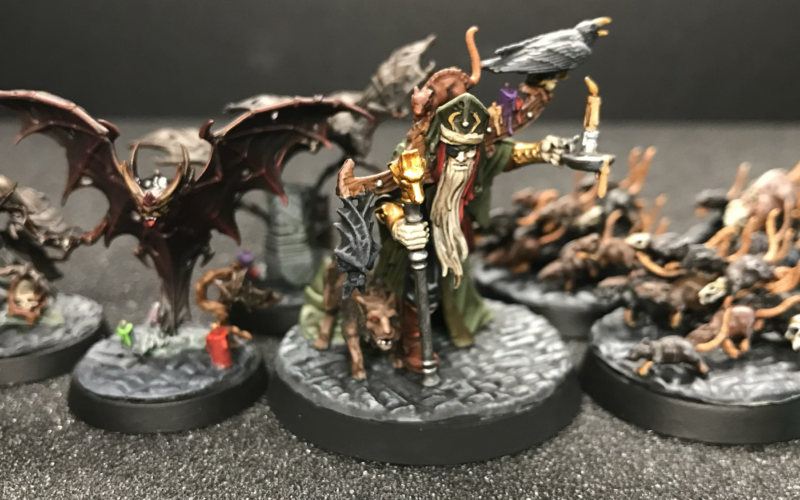
Firstly, the idea that applying decals is a pain is only perpetuated by people who don’t know how to do them well. At the end of this article, you’ll know how to apply them easily. And then you’ll be able to put decals on anything with space and, sometimes, even in places where there isn’t. But, secondly, learning how to apply a decal is one hell of a lot easier than learning how to freehand paint. Yes, you can learn to freehand. Yes, there are things you should learn to freehand, checkers being the number one I can think of. But unless you’re Elvgren in miniature, you’re never going to get pinup girls like the ones included in the pictures.
But it doesn’t even have to be that complex. Sometimes a combination of decals can save you work.
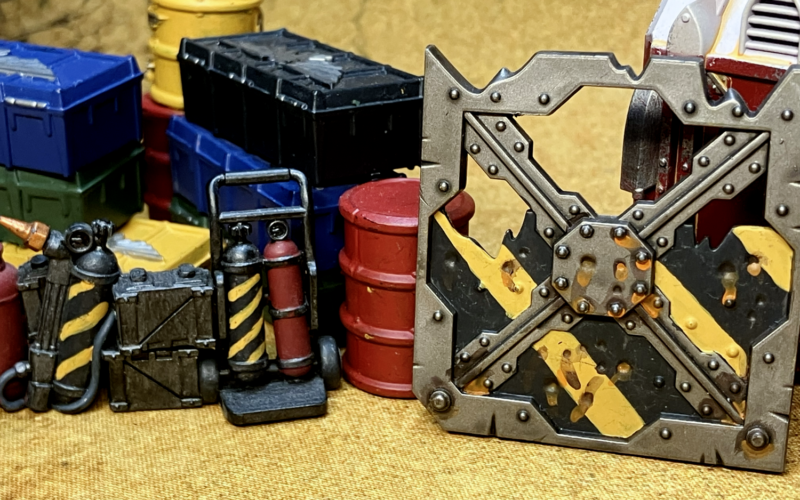
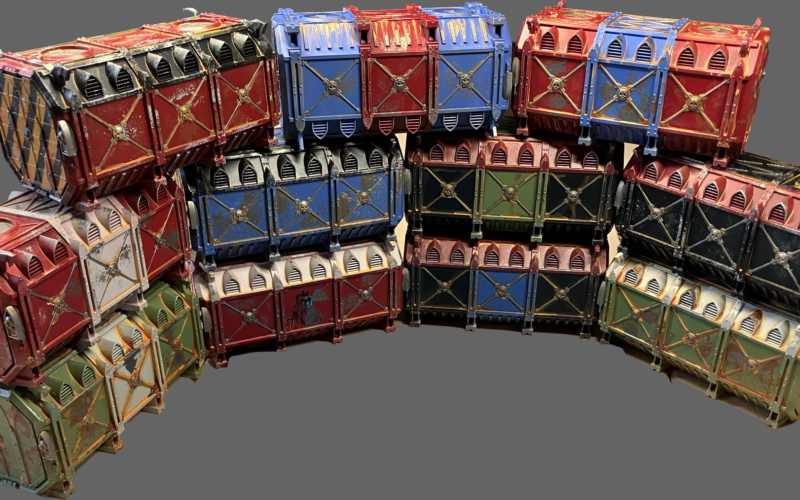
I have terrain pieces where I’ve started with a colored circle. Added another shape inside of that. Then a pinup girl on top of those and stenciled numbers above it all. Each of these was a decal. Sure, I could paint a circle or a star. I could learn to paint stencil style numbers. Or… I cut them out and just apply them.
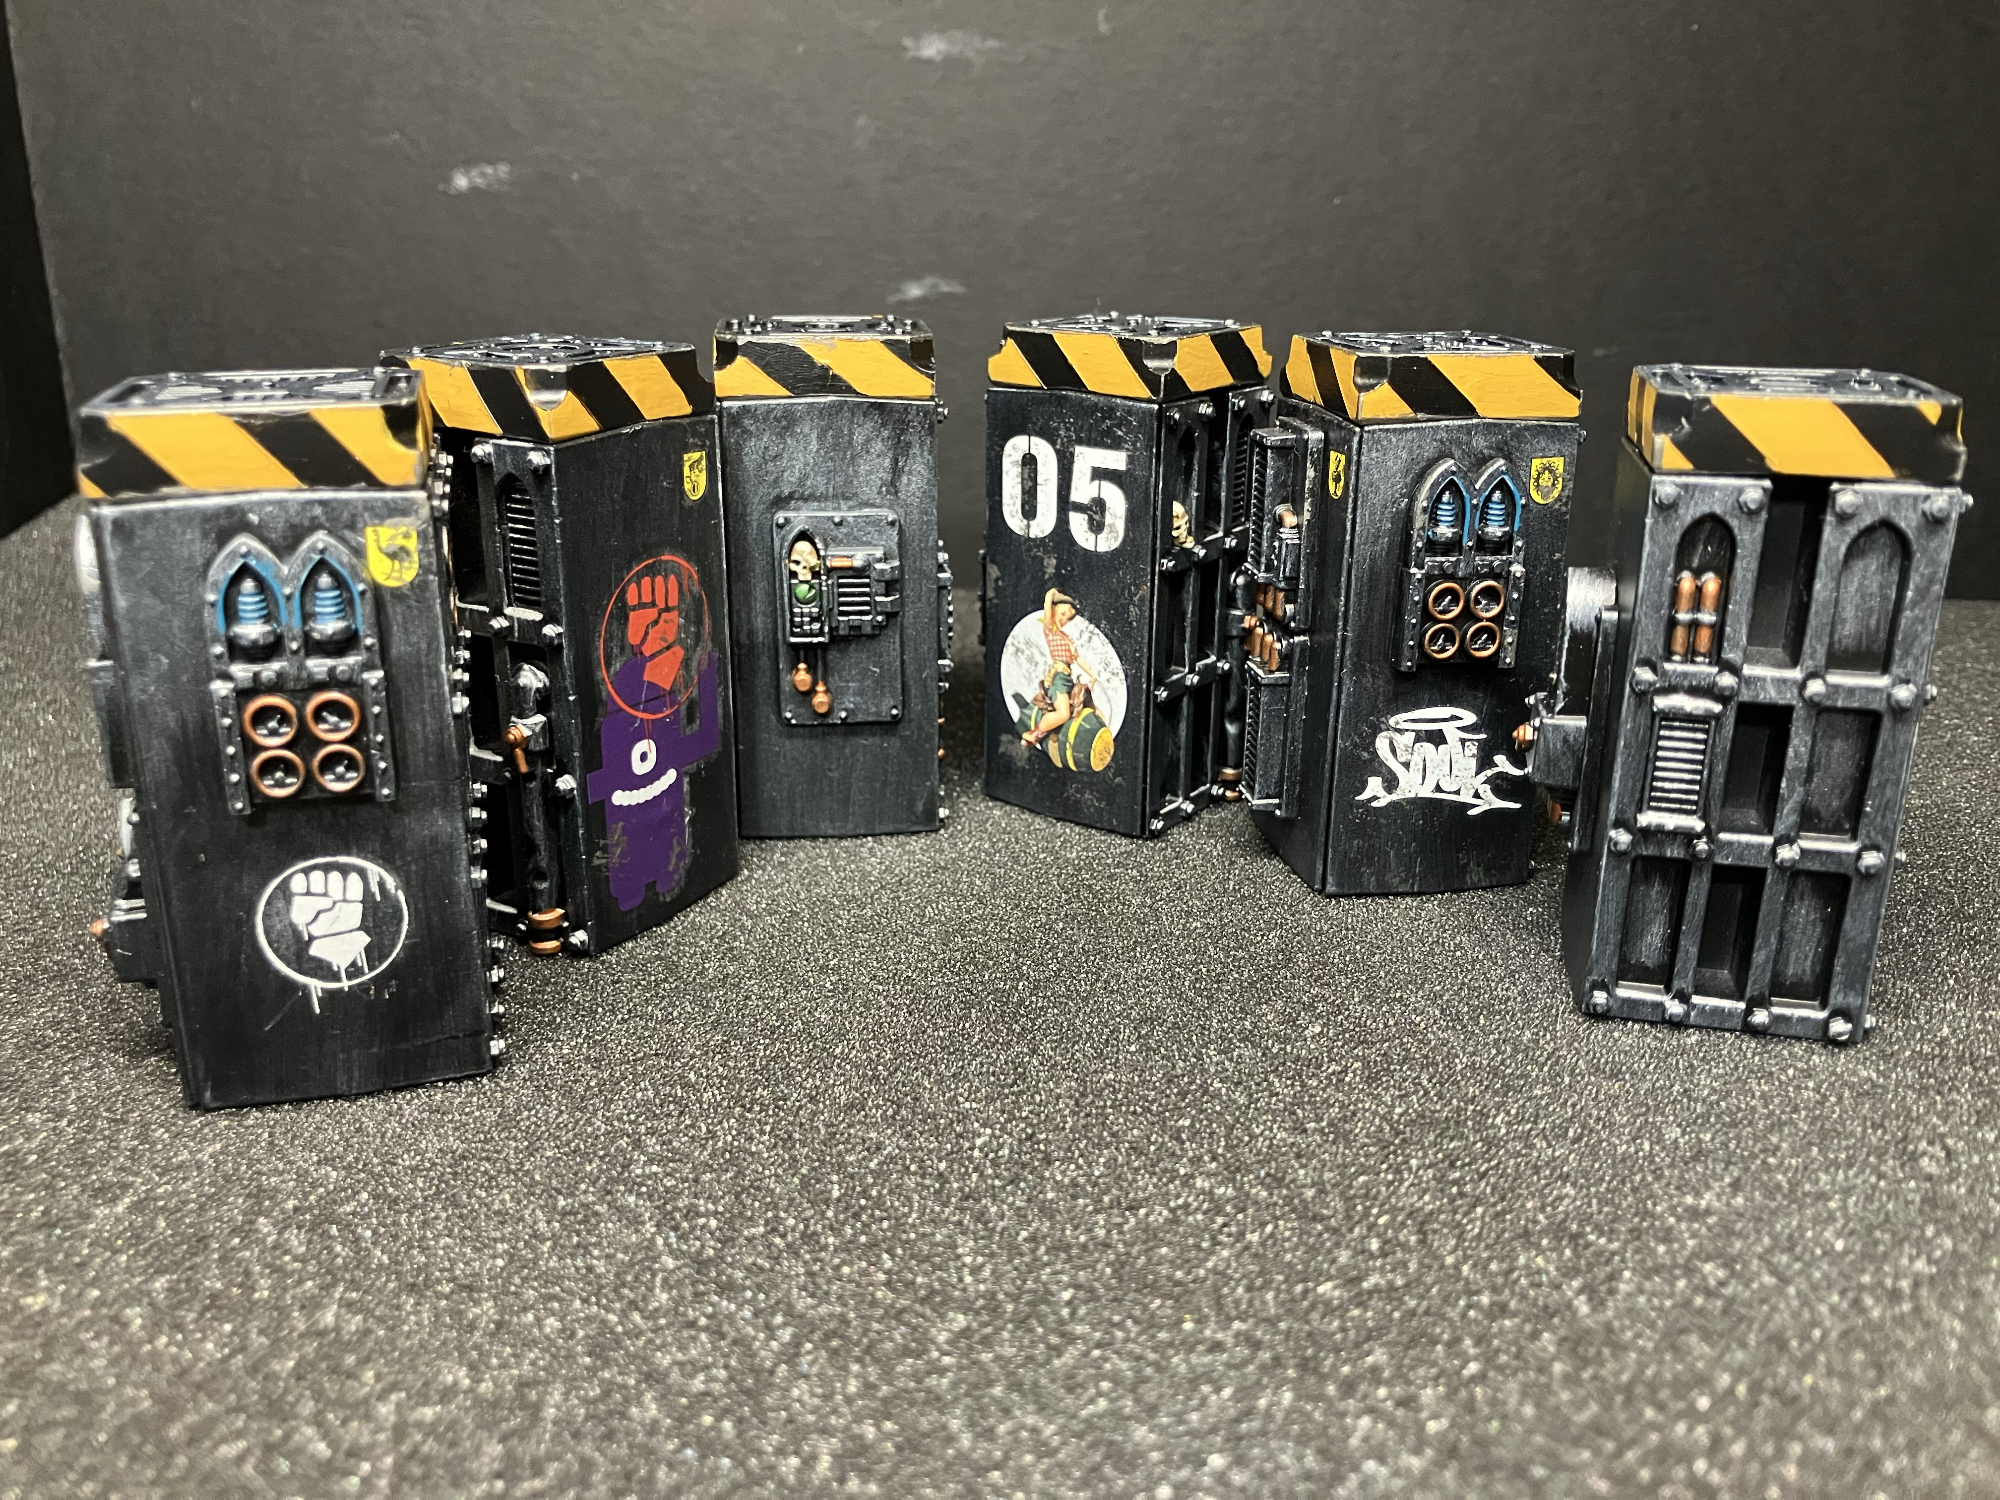
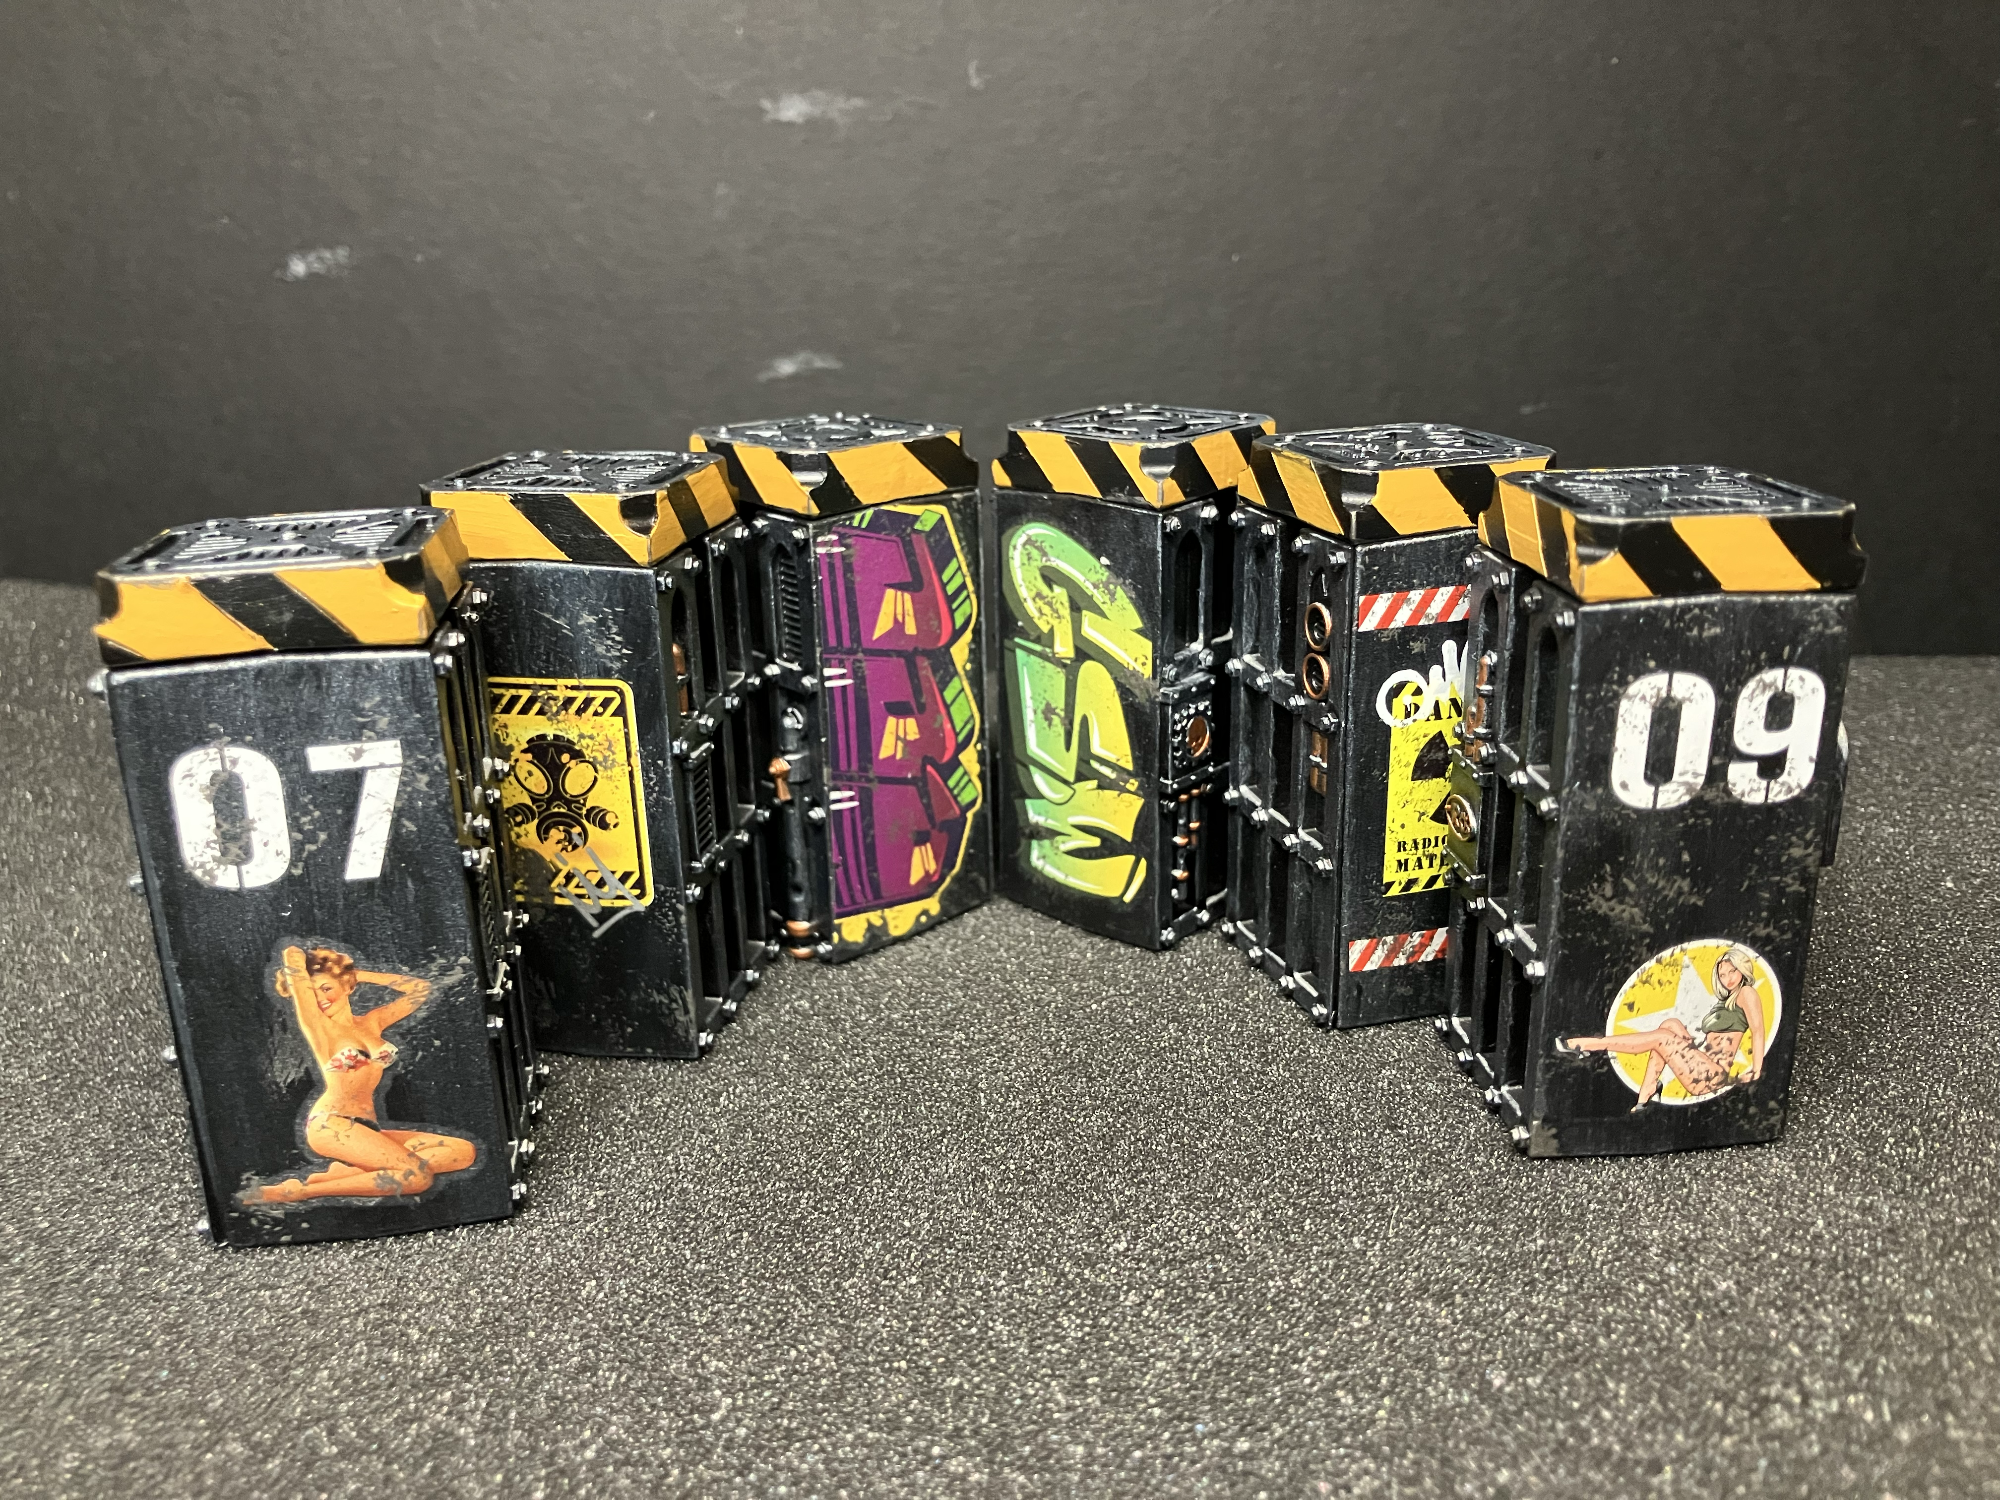
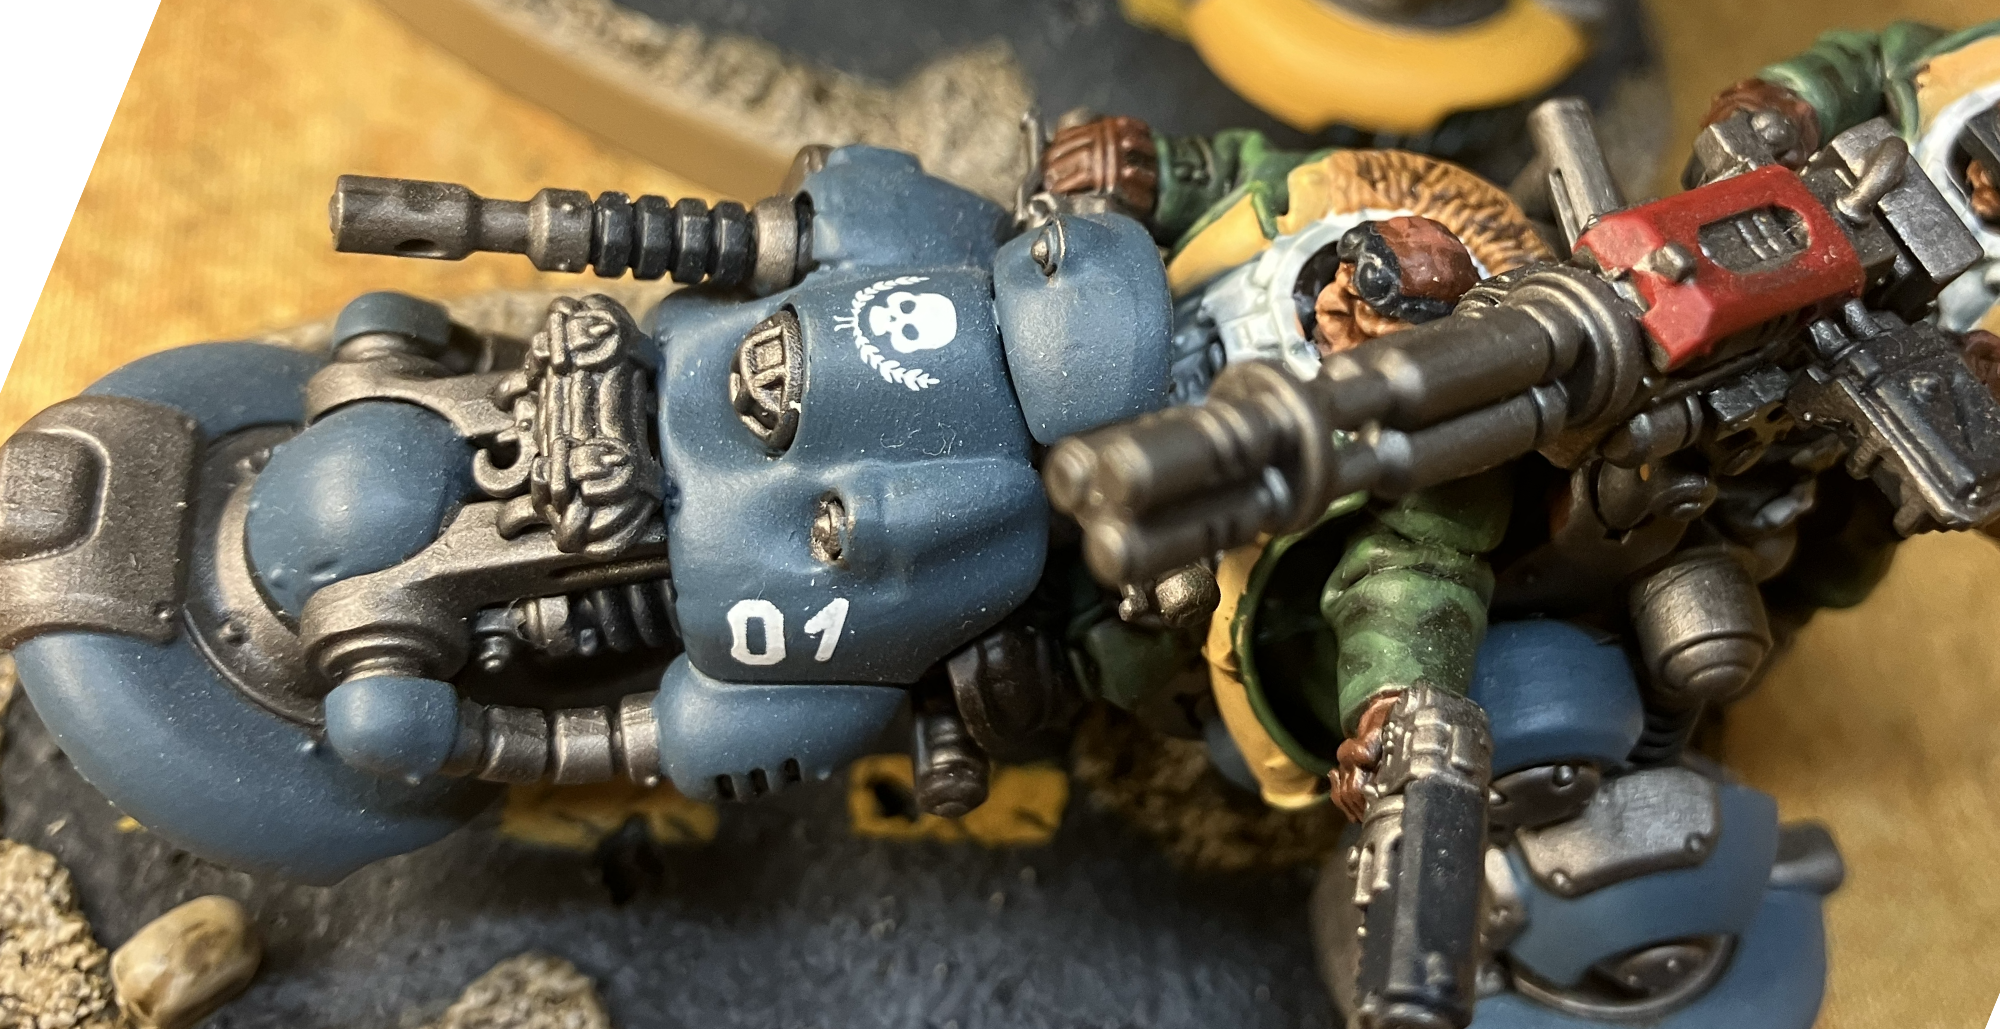
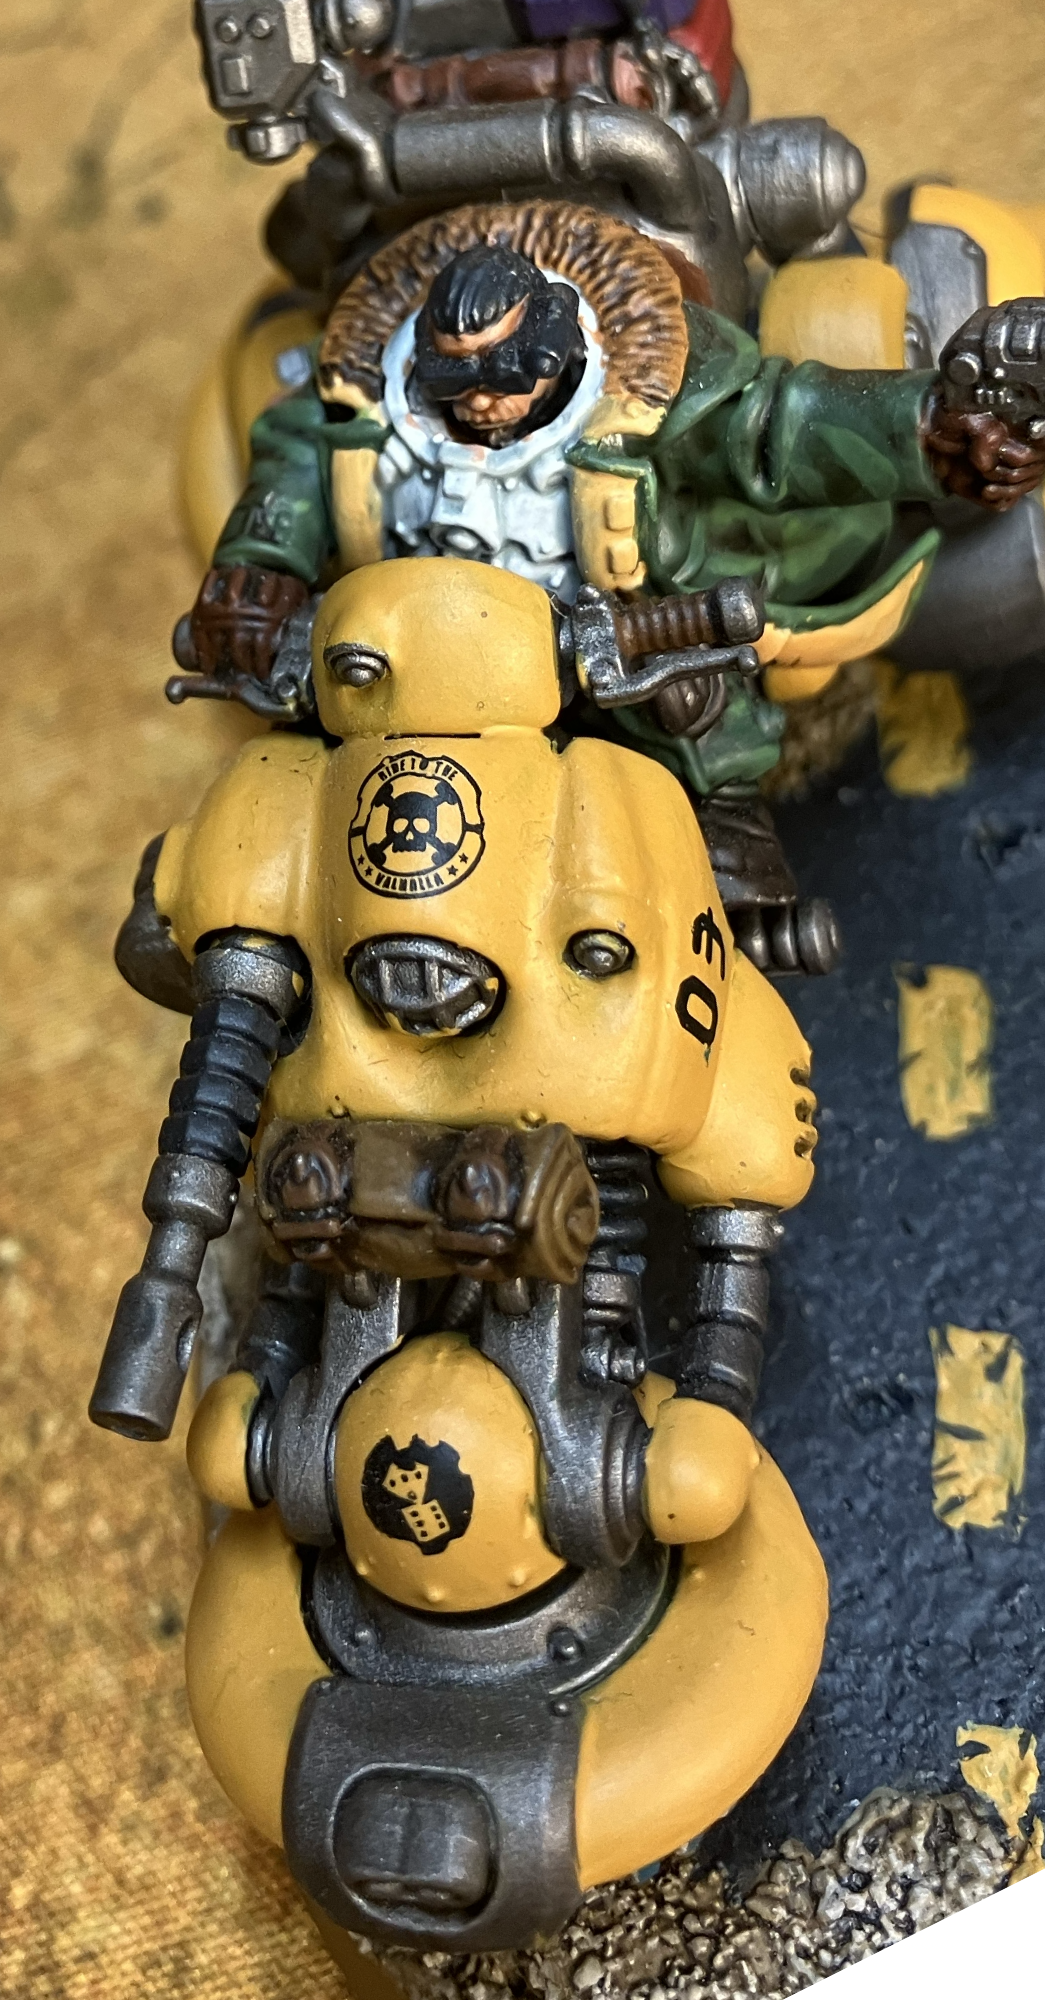
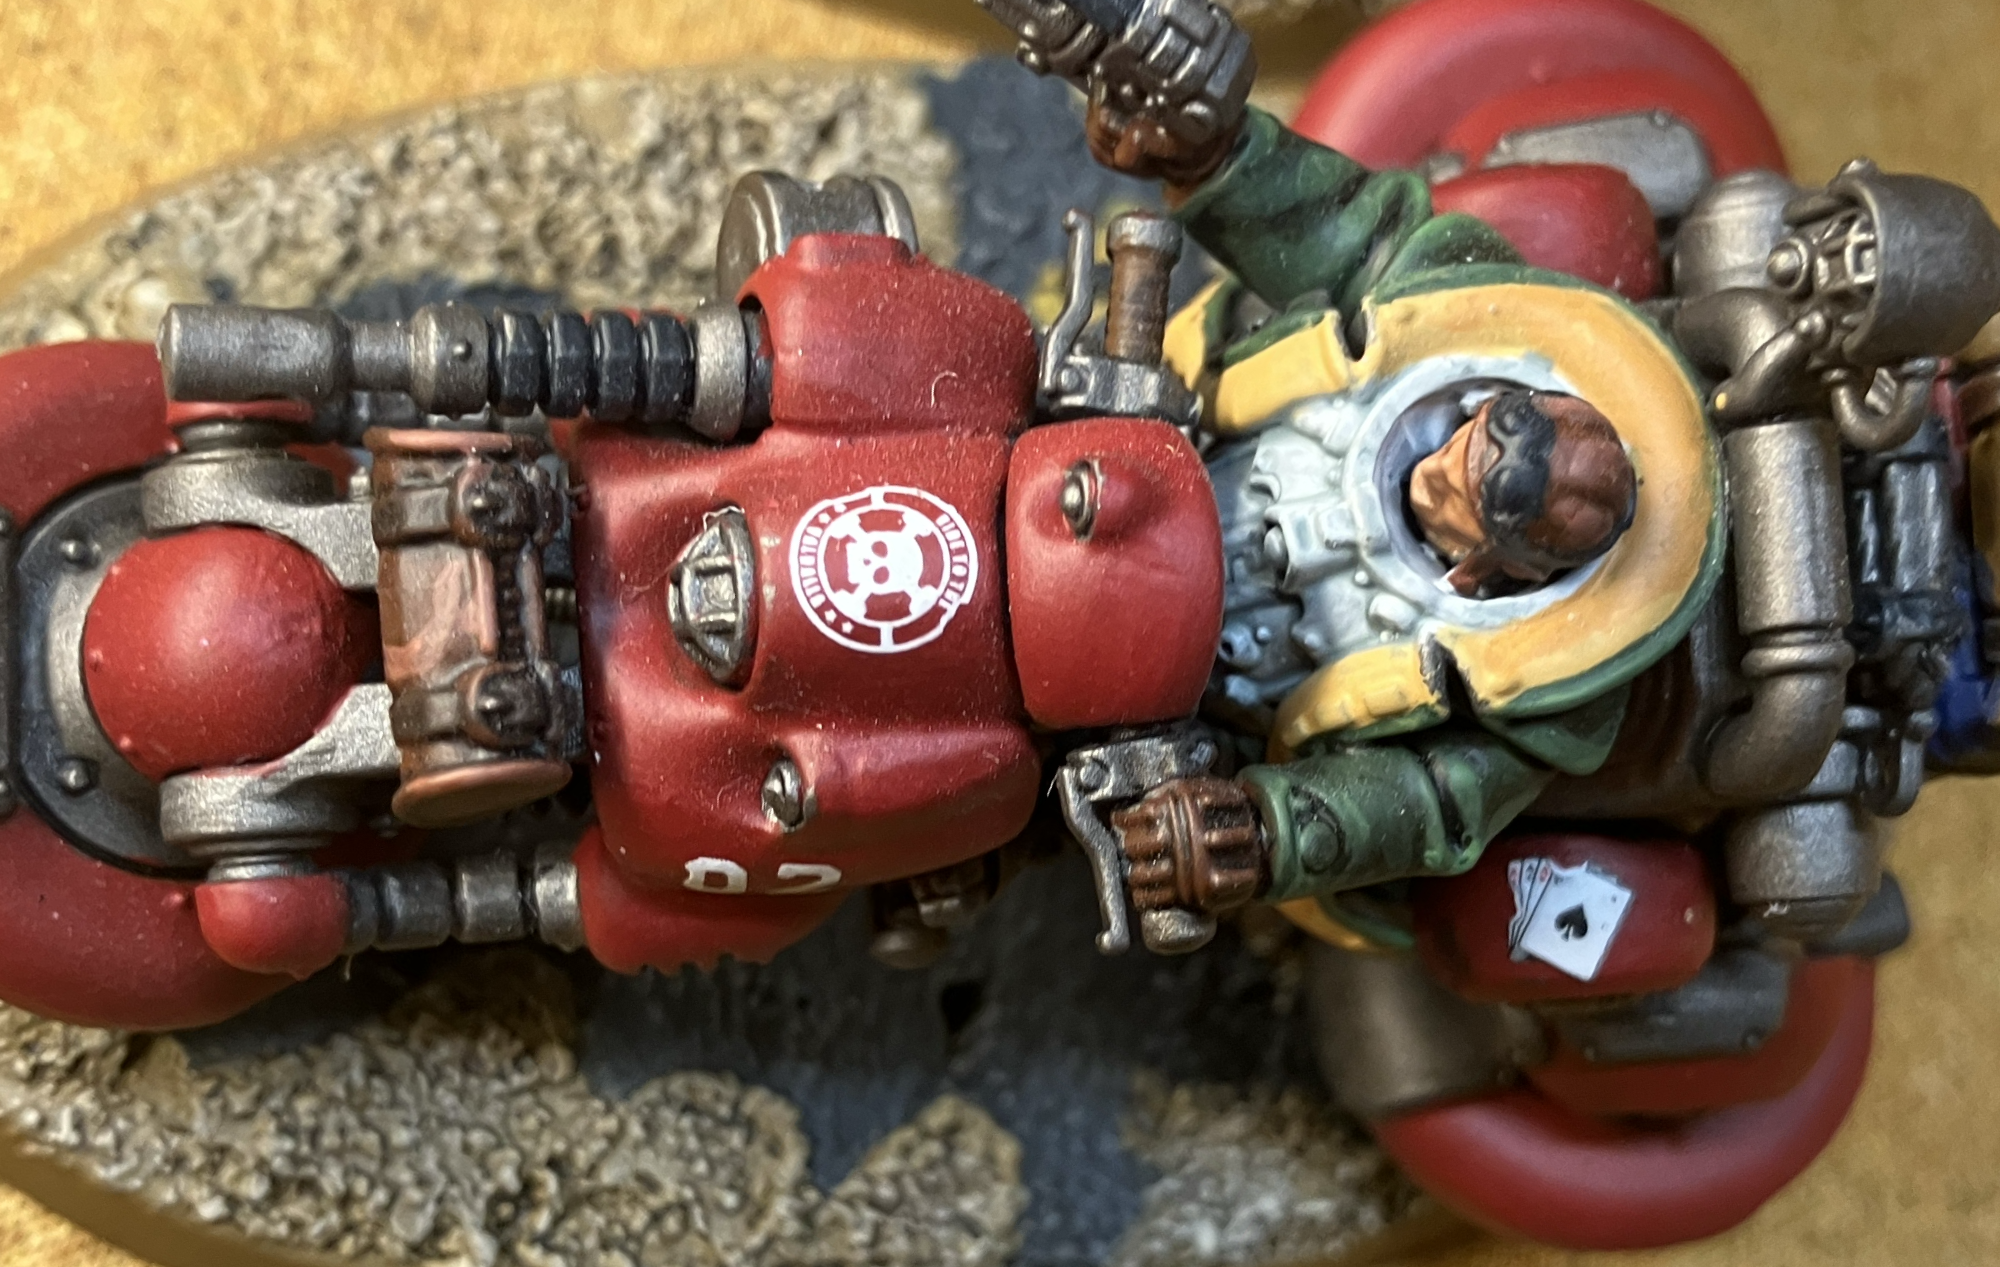
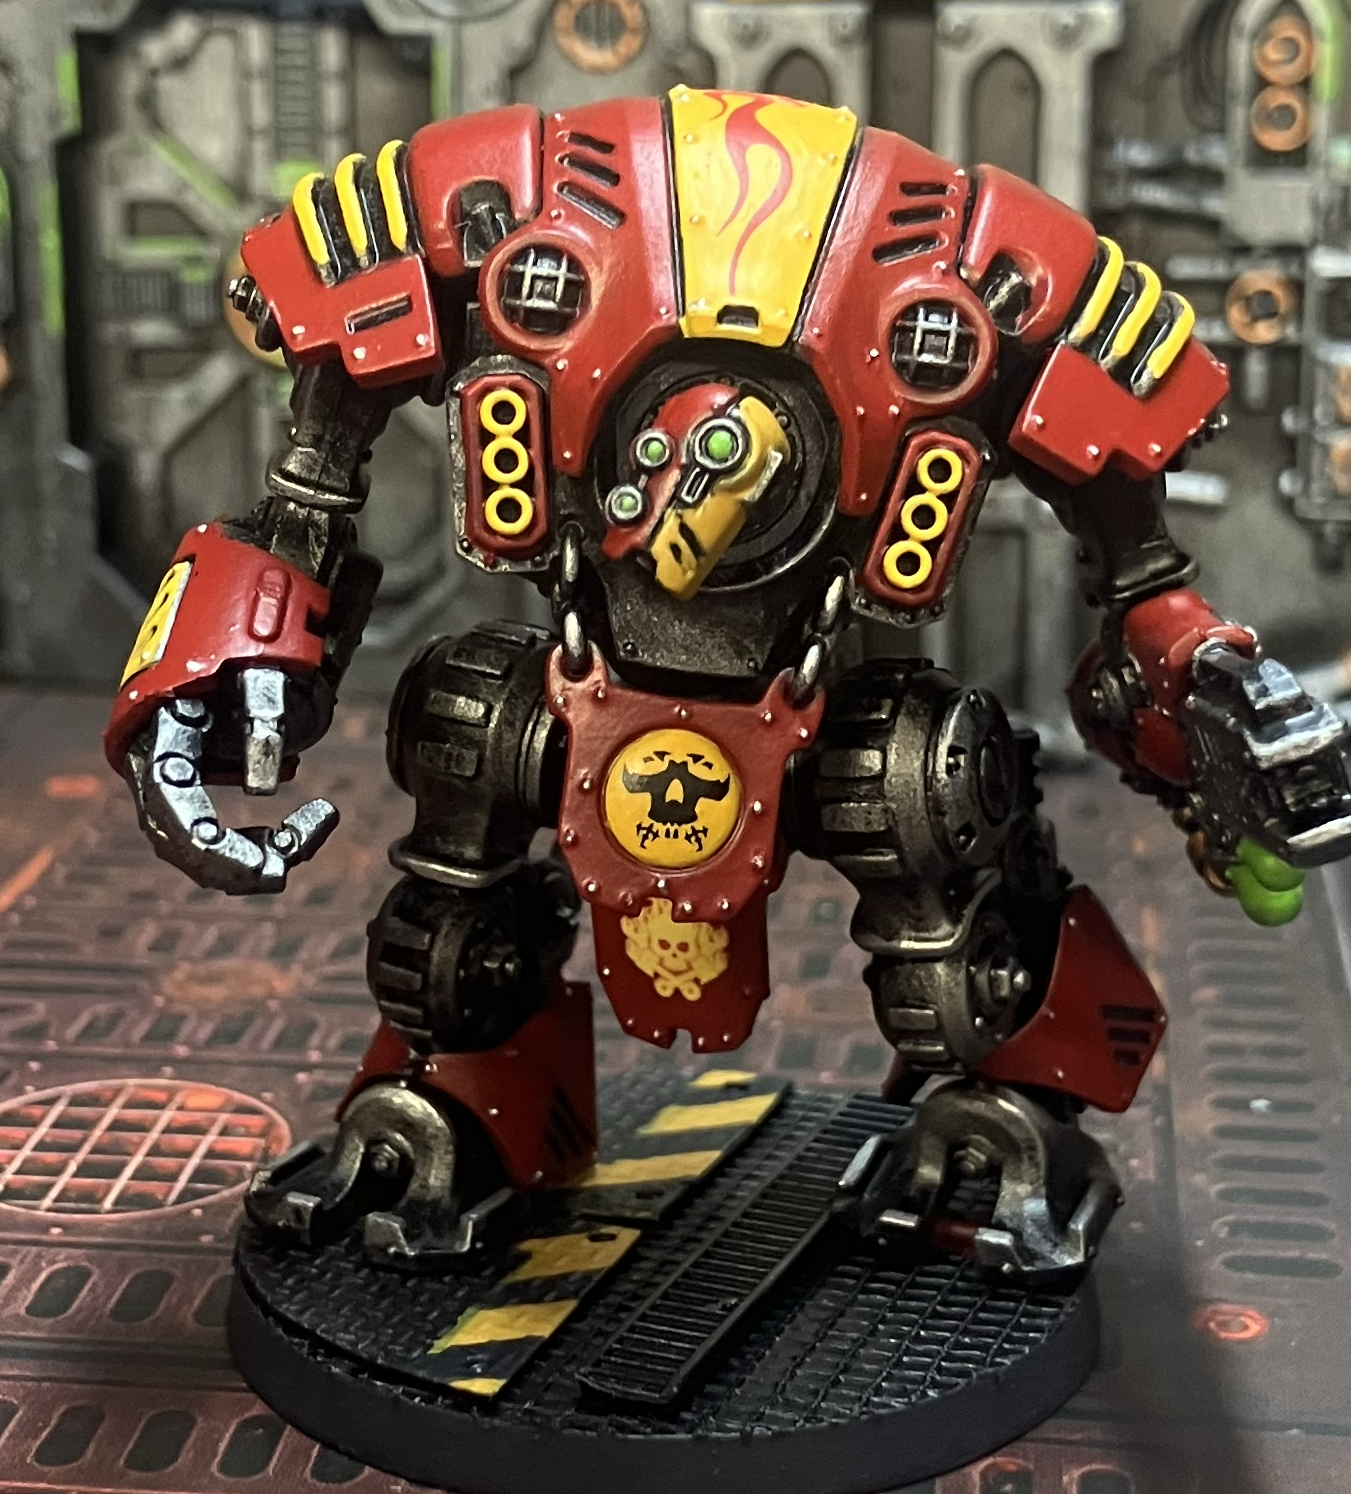
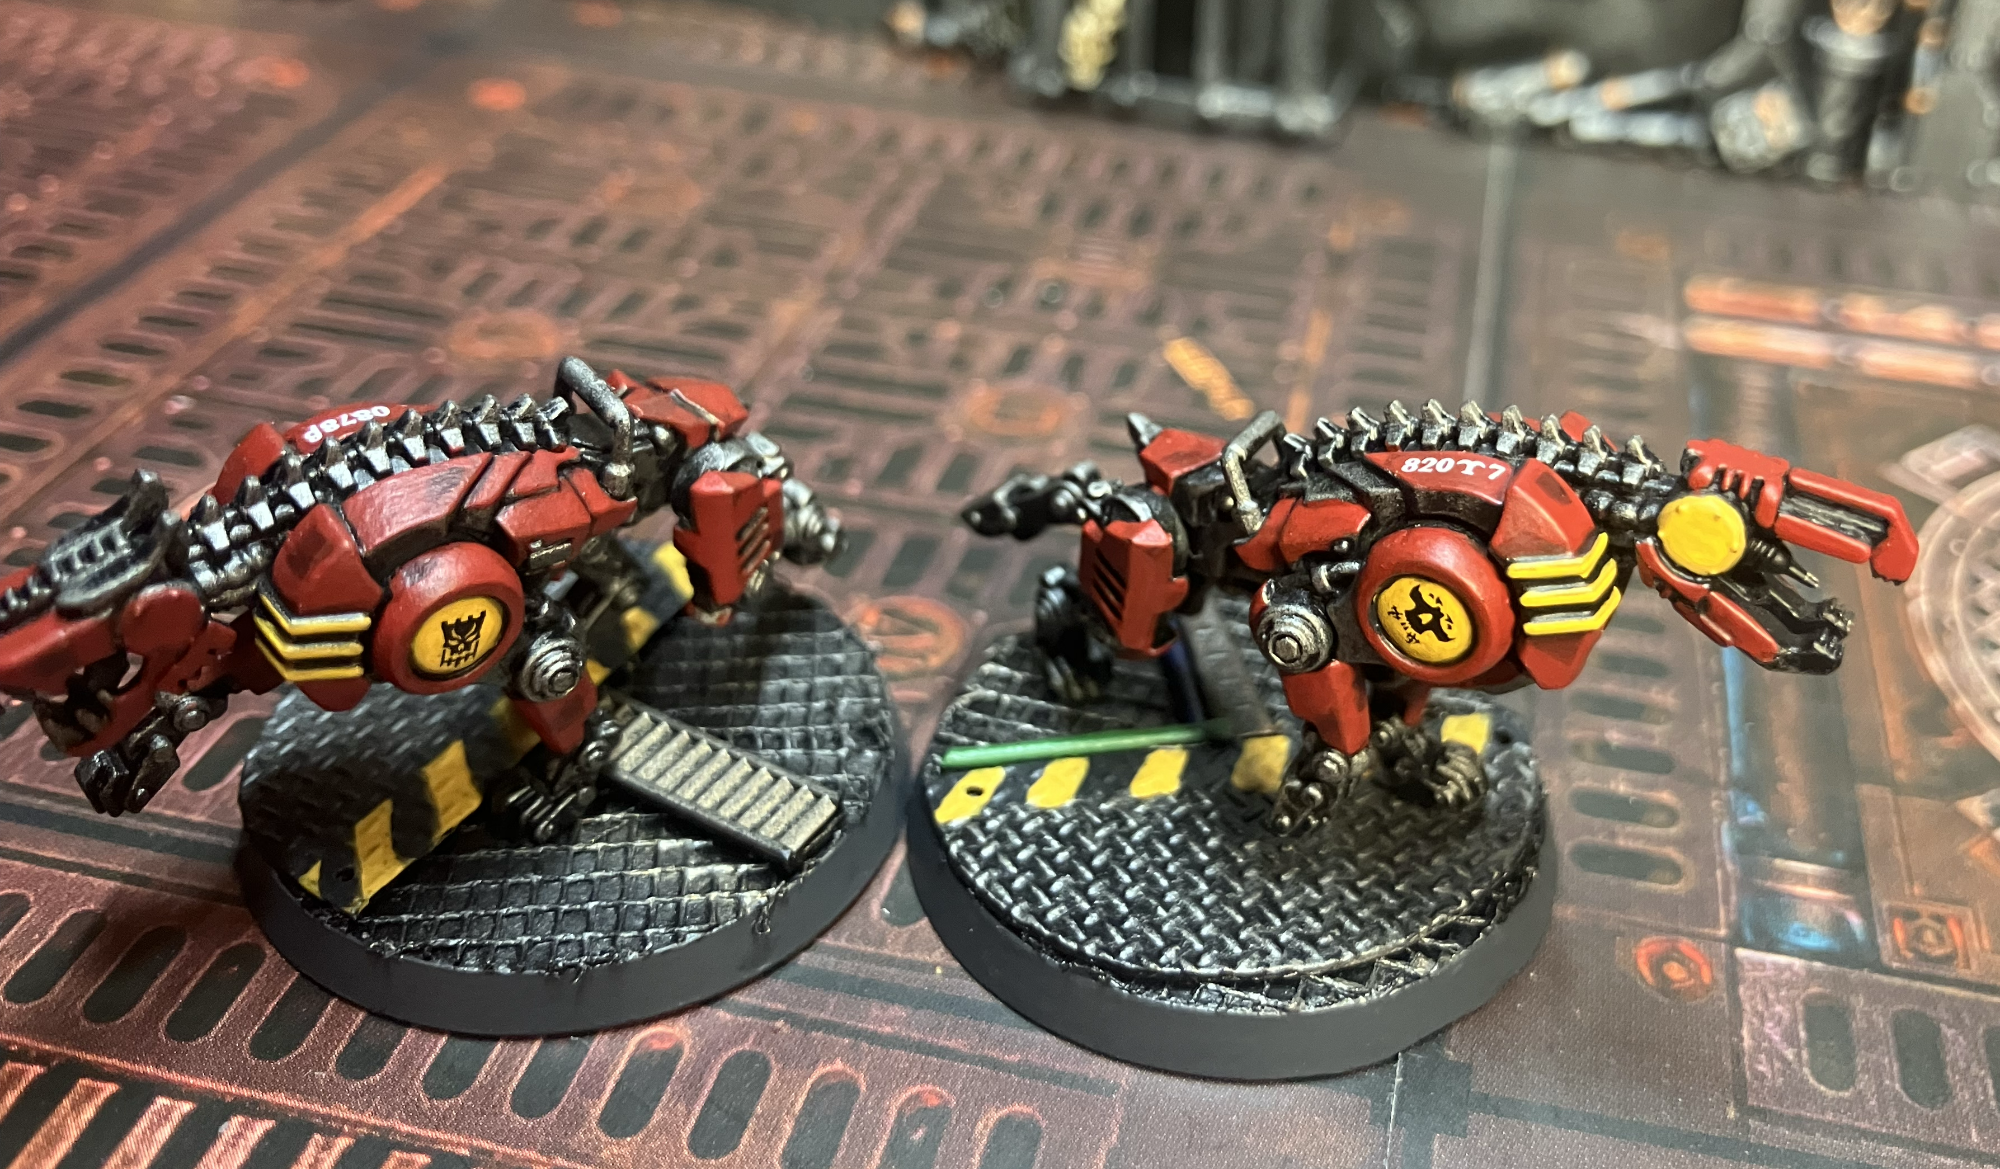
The best part is, they even decals that weren’t meant to represent one kind of thing can be used to represent something else and it’ll work. I can’t count the number of times I’ve seen an underhive board where someone has used Leagues of Votan decals on cargo containers or structures and it immediately says “futuristic border town.”
Applying Decals
Here’s the quick and easy way. What you’ll need:
- At least one sheet of decals
- A hobby knife
- A cup of water – your brush water is fine unless there are metallic bits floating around
- An old brush – but not so old it has no give
- A set of tweezers
- A square of paper towel
Select the decals that you want to cut out. Give some thought as to how it might be best to apply it. Is it easier to pull down from the bottom onto the surface? Pull it from the side? With your hobby knife, then cut around the decal as tight toward the art as you can without cutting the decal itself, leaving a larger edge where you’ll hold it with your tweezers.
Now, grip it with your tweezers and give it a dunk into your cup of water. You can give it a quick dunk or hold it for a few seconds, it doesn’t really matter. But keep a hold on it and rest your hand on the table. You’re going to need to give it 20-30 seconds. While waiting, dip your brush in the water and brush a little of it onto the surface you want to lay the decal. Spread it around a bit but don’t make it a swamp. If you’ve applied too much, dry it off with the paper towel. A few beads of moisture are usually enough.
If you’ve never applied a decal before, try this method but try it with a decal that repeats often on a sheet
After about 30 seconds, lightly brush the decal in the direction opposite your tweezers. Just do this every five seconds or so. When the decal begins to move, hold the edge of the decal paper more or less where you want the same edge of the decal to sit. Then, gently, brush the decal off about half-way off the paper. You can now line up the edge better.
Once the edges are lined up, hold the edge of the decal that’s off the paper against the surface you want it to be applied on with your paint brush and, slowly, pull the paper out from underneath. The decal will fall to the surface. If it’s not quite straight, you can move it around a little with your brush. But once it’s where you want it to be, lay a corner of your paper towel over the decal so it covers the whole thing and push down, firmly, so any and all water underneath the art is pushed out and absorbed by the towel.
If you give it about ten minutes, it should have dried sufficiently that you can either layer another decal on top of it or seal it all in with a coat of varnish. Then you can sponge or paint scratch marks an top of that to make it blend a little better into the background.
And that’s it!
I think where a lot of people go wrong is they leave the decal to float in the water until it begins to separate. And then it’s next to impossible to get a grip on, much less apply to the surface because all of its glue has dissipated. Also, in places where the decal might be an odd shape, it’s not unusual to pull too hard so that it tears at a thin point in the art and then you’re left trying to arrange two halves over a water barrier.
I think you just have to remember the old phrase: Slow is smooth, smooth is fast. And then everything will come together.
If you’ve never applied a decal before, try this method but try it with a decal that repeats often on a sheet. For instance, if there are numbers, try applying Ones and Zeros as there are usually lots of those.
Great Sources
Obviously, the number one source for miniature decals is with the miniatures themselves. Not every kit has them but, at least in the GW world, most faction minis come with a sheet of faction markings. In Blood Bowl, every team comes with a sheet so that uniform numbers can be applied. Sometimes there are team logos that can be repurposed. Sometimes other strange markings.
I’ve also had great success with the Green Stuff World decals, especially on terrain. All of the decals on my Gallowdark and Ash Wastes sets came off their decal sheets.